Fix Broken Fence Post In Concrete
Fix broken fence posts in concrete: A seemingly small problem, a broken fence post can quickly become a significant eyesore and potential safety hazard. This guide provides a comprehensive approach to repairing damaged fence posts embedded in concrete, covering everything from assessing the damage and selecting the appropriate repair method to ensuring a long-lasting and structurally sound fix. Whether you’re dealing with a cracked post, a post pulled from the concrete, or simply needing to reinforce a weakened section, we’ll explore various techniques and offer practical advice to help you restore your fence to its former glory.
From understanding the different types of damage a fence post can sustain to mastering the art of setting a new post securely in concrete, this guide offers a step-by-step approach, accompanied by helpful tips and safety precautions. We’ll explore various repair methods, including removing the broken post, setting up a new one, and repairing the surrounding concrete. We’ll also examine alternative solutions, such as using metal brackets, providing you with a range of options to choose from based on your specific situation and skill level.
Assessing the Damage to a Fence Post in Concrete
Before attempting any repair, a thorough assessment of the damage is crucial. This involves identifying the type and extent of the damage to both the fence post and the surrounding concrete. A careful inspection will guide you toward the most appropriate and effective repair method.
Types of Fence Post Damage and Assessment Tools

Source: co.uk
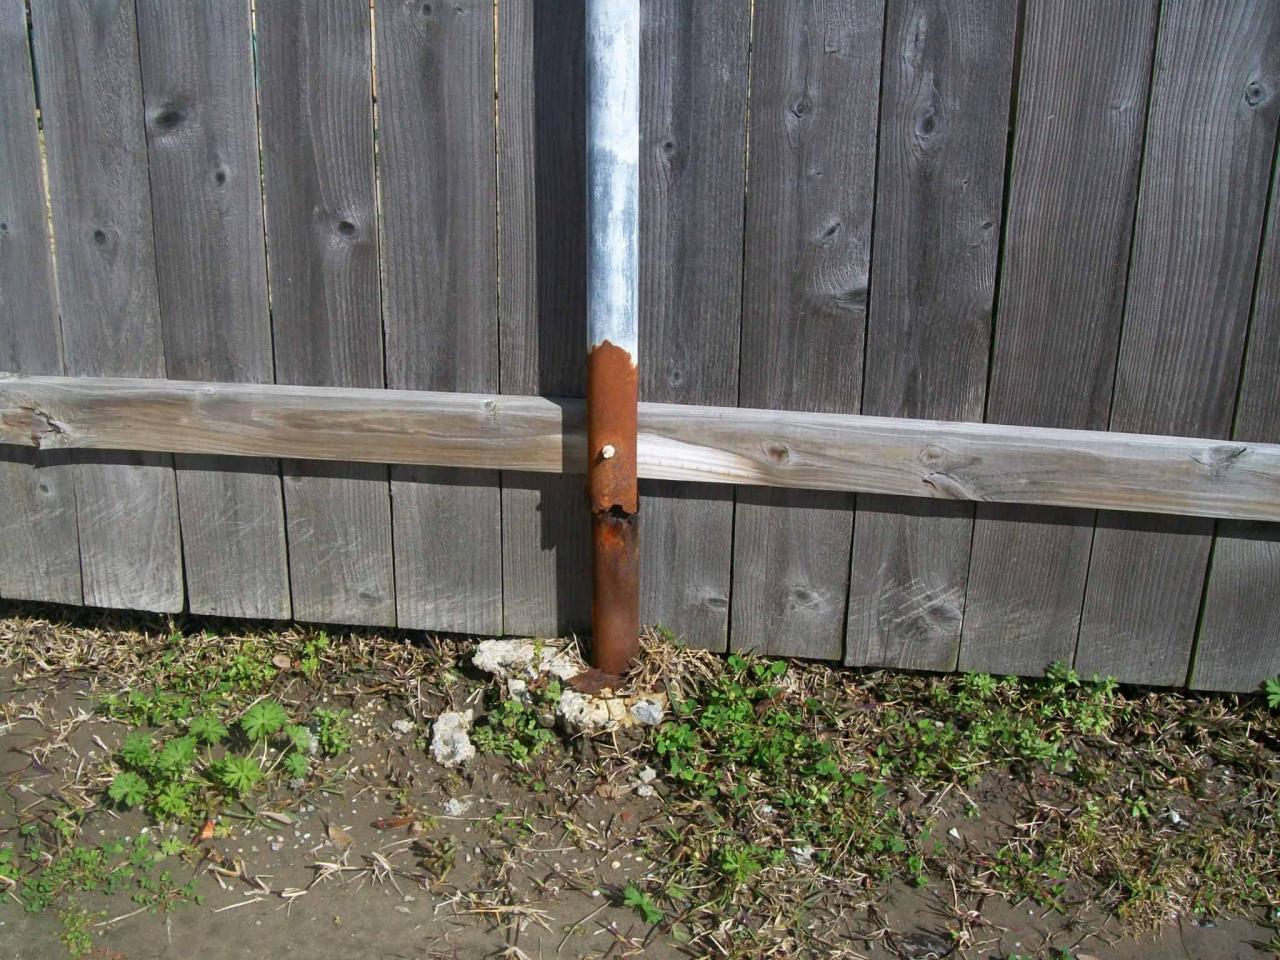
Fence posts embedded in concrete can suffer various types of damage, ranging from minor cracks to complete breakage. Common issues include rot at the base of the wooden post, cracked or broken concrete surrounding the post, and the post itself being fractured or leaning significantly. Assessing this damage requires a few basic tools.
- Hammer
- Screwdriver
- Measuring Tape
- Level
- Pry Bar
- Safety Glasses
- Work Gloves
Inspecting a Broken Fence Post
A systematic inspection ensures no detail is overlooked. Follow these steps:
- Visually inspect the entire post and surrounding concrete for cracks, breaks, or signs of rot.
- Use a hammer to gently tap around the base of the post to detect any loose or hollow areas, indicating potential rot.
- Check the post’s plumpness using a level. A leaning post suggests significant damage or settling.
- Carefully examine the concrete for cracks, checking their depth and extent. Use a screwdriver to probe any cracks for instability.
- Measure the extent of any damage to both the post and concrete.
Damage Assessment and Repair Methods
| Damage Level | Description | Repair Difficulty | Estimated Time |
|---|---|---|---|
| Minor | Small cracks in the concrete, and a minor leaning of the post. | Easy | 1-2 hours |
| Moderate | Larger cracks in the concrete, significant leaning, and minor rot at the base of the post. | Medium | 4-6 hours |
| Severe | Extensive concrete damage, broken post, significant rot. | Difficult | 8+ hours |
| Complete Failure | Post completely broken and removed from concrete. | Difficult | 8+ hours |
Removing the Broken Post: Fix the Broken Fence Post In Concrete
Removing a broken fence post from concrete can be challenging, but choosing the right technique ensures safety and efficiency. Several methods exist, each with its pros and cons.
Techniques for Post-removal
Three primary methods exist for removing a broken fence post: jackhammering, chiseling, and using specialized tools like a post-hole digger with a cutting blade. Jackhammering is the fastest but requires experience and appropriate safety gear. Chiseling is more labor-intensive but requires fewer specialized tools. Specialized tools offer a balance between speed and effort.
Comparing Removal Methods, Fixing broken fence posts in concrete.e
Source: pinimg.com
Jackhammering is the quickest but creates significant dust and noise and risks damaging surrounding areas if not handled carefully. Chiseling is slower but quieter and offers more control, minimizing collateral damage. Specialized tools often provide a more efficient and less disruptive solution.
Safety Precautions
Safety is paramount. Always wear safety glasses, work gloves, and appropriate hearing protection, especially when using power tools. Ensure adequate ventilation to avoid inhaling dust. If using a jackhammer, ensure proper training and follow manufacturer instructions. Consider using a dust mask to prevent inhalation of concrete dust.
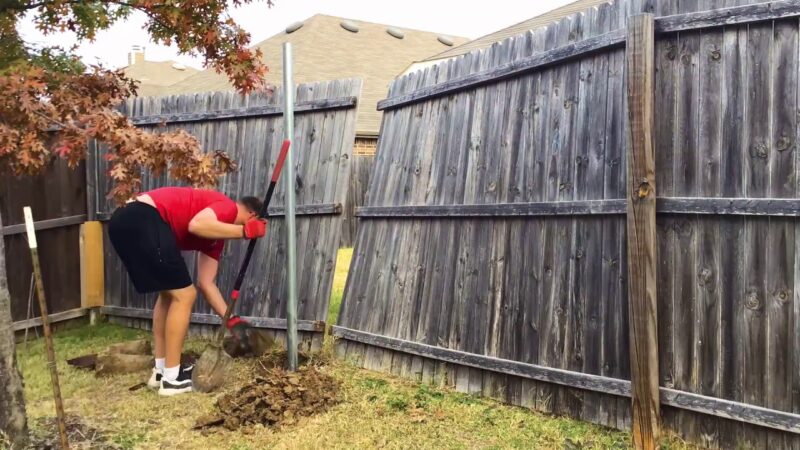
Safe Post Removal: A Step-by-Step Guide
This visual description illustrates the steps involved in safely removing a broken fence post using a combination of chiseling and a pry bar. Assume the post is broken near ground level.
- Preparation: Clear the area around the post, and wear safety gear.
- Chiseling: Carefully chip away the concrete around the base of the post, creating a space to insert the pry bar. Work slowly and methodically to avoid damaging the surrounding concrete more than necessary.
- Pry Bar Insertion: Insert the pry bar between the post and the remaining concrete, applying leverage to loosen the post.
- Removal: Once the post is sufficiently loosened, use the pry bar to gently rock and pull the post-free. If the post is stubborn, repeat the chiseling process as needed.
- Cleanup: Remove any remaining concrete fragments and debris.
Setting a New Fence Post
Source: westsidefence.com
Installing a new fence post requires careful preparation and execution to ensure stability and longevity. The process involves mixing concrete, setting the post, and ensuring proper alignment.
Procedure for Setting a New Post
- Dig the Hole: Dig a hole at least twice the depth of the post and slightly wider than the post’s diameter. The depth is critical for stability. For a standard 6-foot fence post, a 3-foot hole is recommended. Ensure the hole is plumb.
- Mix the Concrete: Follow the manufacturer’s instructions for mixing the concrete. Ensure a consistent, workable mix. The exact amount of concrete needed will depend on the hole’s size.
- Set the Post: Place the post in the hole, ensuring it is plumb and aligned with the existing fence line. Use a level to check verticality and alignment.
- Add Concrete: Gradually add the concrete around the post, ensuring no voids remain. Tamp the concrete gently to eliminate air pockets. The concrete should extend several inches above ground level.
- Level and Support: Use temporary supports to keep the post plumb until the concrete sets completely. Ensure the post remains straight and stable.
- Curing: Allow the concrete to cure completely according to the manufacturer’s instructions, typically 24-72 hours. Keep the concrete moist during this period.
Concrete Mix Options
Several concrete mixes are suitable, including pre-mixed bags or custom mixes. Pre-mixed bags offer convenience, while custom mixes allow for greater control over strength and workability. Consider the climate and soil conditions when choosing a mix. Quick-setting concrete may be preferable in wet conditions.
Materials List
- New Fence Post (appropriate size and material)
- Concrete Mix (approximately 1-2 bags, depending on hole size)
- Post Hole Digger or Shovel
- Level
- Measuring Tape
- Wheelbarrow (optional)
- Shovel
- Temporary Supports (e.g., stakes and bracing)
- Water
Repairing the Concrete
Repairing the concrete around the new or existing post ensures a lasting and aesthetically pleasing result. This involves filling cracks and patching any holes. Proper techniques ensure durability and weather resistance.
Concrete Repair Methods
Various patching compounds are available, including epoxy-based fillers, cement-based mortars, and specialized concrete repair kits. Epoxy fillers are ideal for small cracks and offer excellent bonding strength. Cement-based mortars are suitable for larger repairs and patching holes. Choose a compound based on the extent of the damage.
Mixing and Applying Patching Compounds
Follow the manufacturer’s instructions for mixing and applying the patching compound. Ensure the surface is clean and dry before applying. Use a trowel to apply the compound, working it smoothly into the cracks or holes. Allow ample curing time.
Tips for Long-Lasting Concrete Repair
- Clean the damaged area thoroughly before applying any patching compound.
- Use a suitable primer to enhance adhesion.
- Apply the compound in thin layers for better bonding.
- Allow adequate curing time before exposing the repair to moisture or stress.
- Protect the repair from freezing temperatures during curing.
- Consider using a sealant to further protect the repair from weathering.
Alternative Repair Techniques

Source: ytimg.com
In some cases, replacing the entire post might not be necessary. Alternative methods, such as using metal brackets or supports, can provide effective solutions, particularly for minor damage. These methods offer a quicker and less labor-intensive approach.
Comparing Alternative Methods
Metal brackets or supports offer a faster and often cheaper alternative to replacing the entire post. They are particularly suitable for minor damage or where replacing the post is impractical. However, they might not be as durable as a complete replacement, especially for severe damage.
Situations Where Alternatives are Suitable
Alternative methods are suitable for minor cracks in the concrete, slight leaning of the post, or minor damage to the post itself. They are particularly useful when the post is otherwise sound and only requires additional support. They are less suitable for extensive damage or rot.
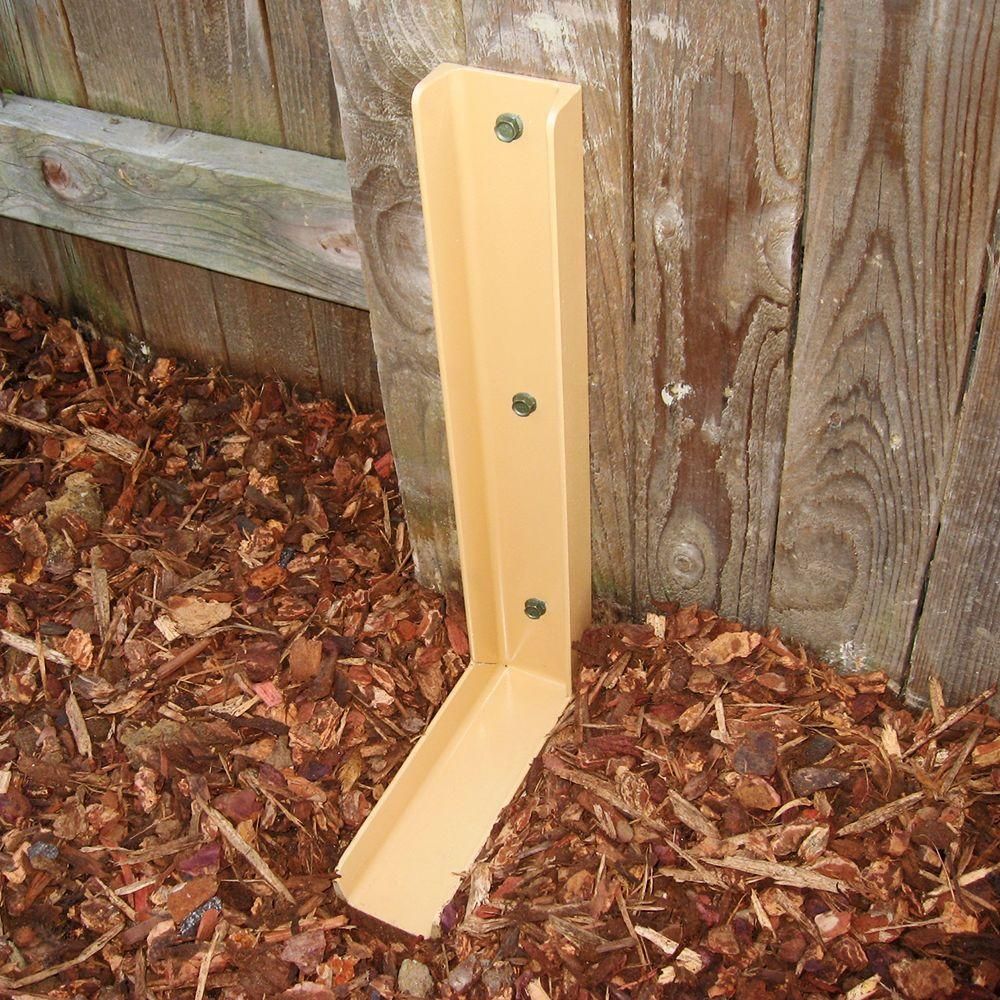
Examples of Metal Bracket Designs
Various metal bracket designs exist. Some are simple L-shaped brackets that bolt onto the post and the surrounding concrete, providing additional support. Others are more complex systems that offer more robust reinforcement. The choice of bracket depends on the specific damage and the desired level of reinforcement.
Quick FAQs
What type of concrete is best for setting a new fence post?
A quick-setting concrete mix is generally recommended for fence post installation, as it provides faster setting time and allows for quicker project completion. However, ensure the mix is appropriate for outdoor use and weather conditions.
How can I prevent future fence post damage?
Regular inspections, ensuring proper post depth during initial installation, and using high-quality materials are key to preventing future damage. Consider adding extra support, especially in areas prone to high winds or impacts.
What should I do if the concrete around the post is severely cracked or damaged?
Extensive concrete damage may require more significant repairs, potentially involving removing and replacing a larger section of concrete. Consult a professional if you are unsure about the extent of the repair needed.
Can I use a different type of post material to replace a broken wooden post?
Yes, you can replace a wooden post with a metal or vinyl post. However, ensure the replacement post is compatible with the existing fence and the chosen repair method. You may need different hardware or techniques.
Comments are closed.