Fix Broken Wood Fence Post
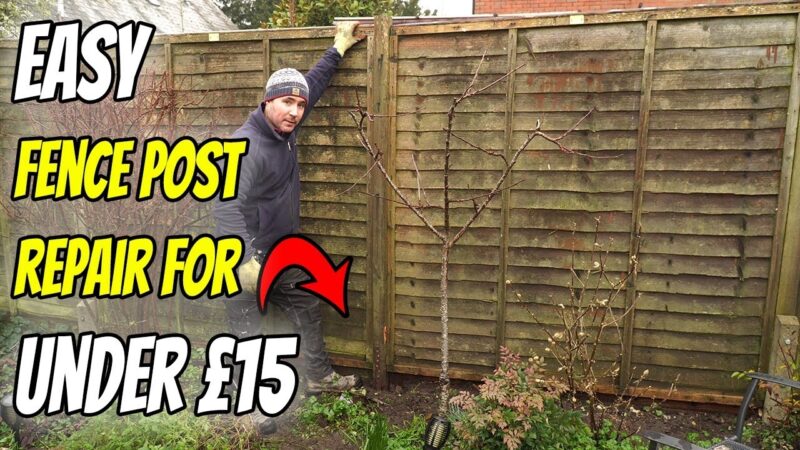
Fix broken wood fence post—a seemingly simple task, yet one that requires careful assessment and the right approach. A damaged fence post not only compromises the structural integrity of your fence but also detracts from its overall aesthetic appeal. This guide provides a step-by-step approach, covering everything from identifying the damage to selecting appropriate materials and executing both temporary and permanent repairs. We’ll explore various repair methods, from simple fixes for minor damage to complete post-replacement, ensuring you have the knowledge to tackle this project with confidence.
Understanding the causes of fence post failure is crucial for effective repair and future prevention. Factors like rot, insect infestation, impact damage, and improper installation all contribute to weakening and eventual breakage. This guide will equip you with the knowledge to diagnose the problem accurately, select the best repair strategy, and prevent future occurrences. Whether you are a seasoned DIY enthusiast or a novice homeowner, this comprehensive guide offers practical advice and detailed instructions to help you restore your fence to its former glory.
Assessing Damage to Wood Fence Posts
A thorough inspection is crucial before attempting any repair. Understanding the type and extent of damage will determine the appropriate repair method, from simple stabilization to complete replacement. Several factors contribute to wood fence post failure, and recognizing these factors can help prevent future problems.
Types of Damage and Contributing Factors
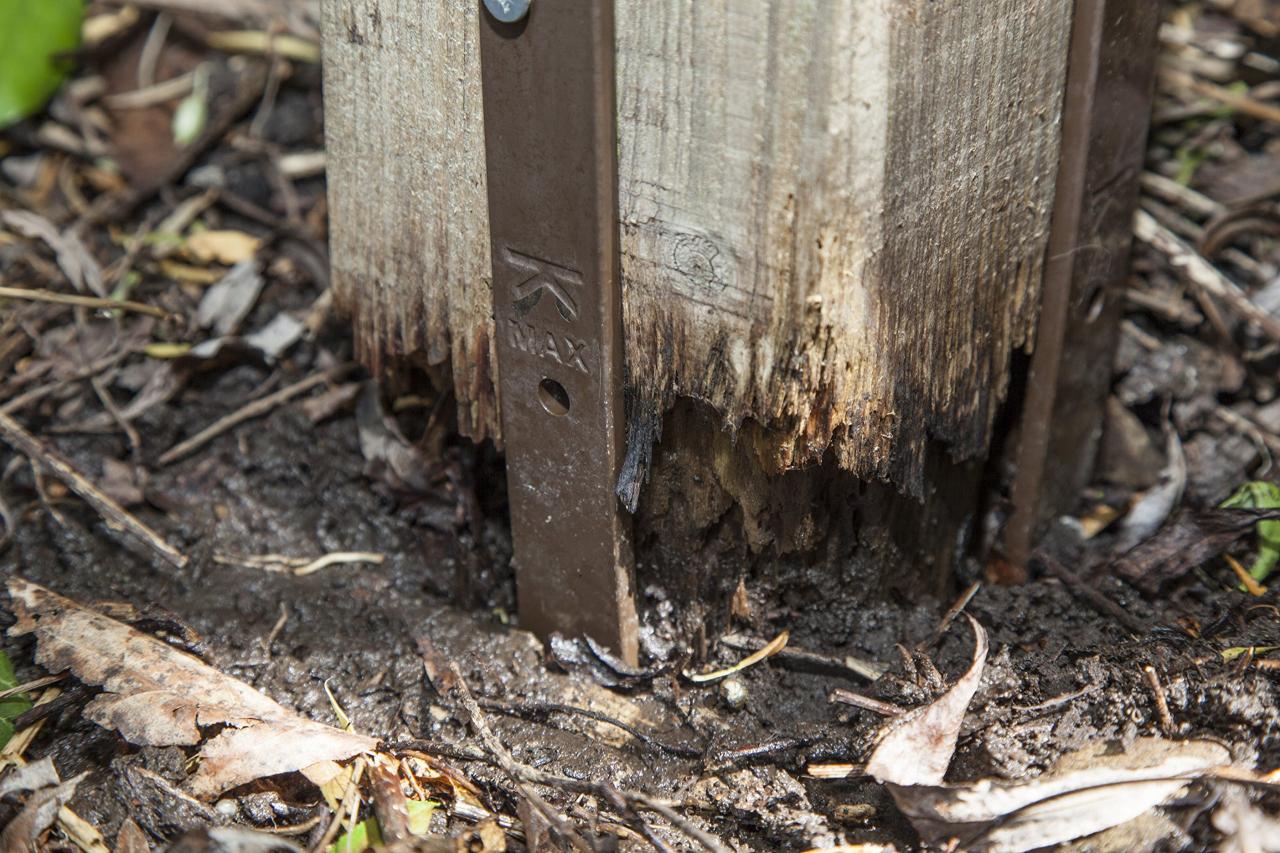
Wood fence posts can suffer from various types of damage, including rot, cracks, insect infestation, and physical damage from impact or weather. Rot, often caused by moisture retention, weakens the post significantly. Cracks can develop due to weathering, stress from leaning fences, or impact. Insect infestation, particularly from termites or carpenter ants, can compromise the structural integrity of the wood. Physical damage, such as impact from vehicles or animals, can cause breakage or significant weakening.
Visual Inspection of a Damaged Post
A detailed visual inspection is the first step in assessing the damage. The tools required are simple: a sturdy screwdriver, a hammer, and a sharp knife or awl. Begin by carefully examining the post for any visible signs of rot, cracks, or insect activity. Probe suspicious areas with the screwdriver; soft or spongy wood indicates rot. Look for cracks extending along the grain or across the post’s width. Carefully examine the surface for insect boreholes or evidence of insect activity (frass – sawdust-like material).
- Check the base of the post for rot. This is a common area for moisture accumulation.
- Inspect the entire post for cracks, paying close attention to areas where the post meets the ground and the fence rails.
- Look for signs of insect infestation, such as small holes, tunnels, or piles of sawdust.
- Assess the overall stability of the post. Does it lean significantly? Is it loose in the ground?
Simple Fixes for Leaning or Slightly Damaged Posts: Fix Broken Wood Fence Post
For minor damage, temporary stabilization can be a cost-effective solution. These methods buy time until a more permanent repair can be implemented. They include using post supports, bracing with temporary supports, and re-setting the post.
Methods for Temporary Stabilization, Fix broken wood fence post.
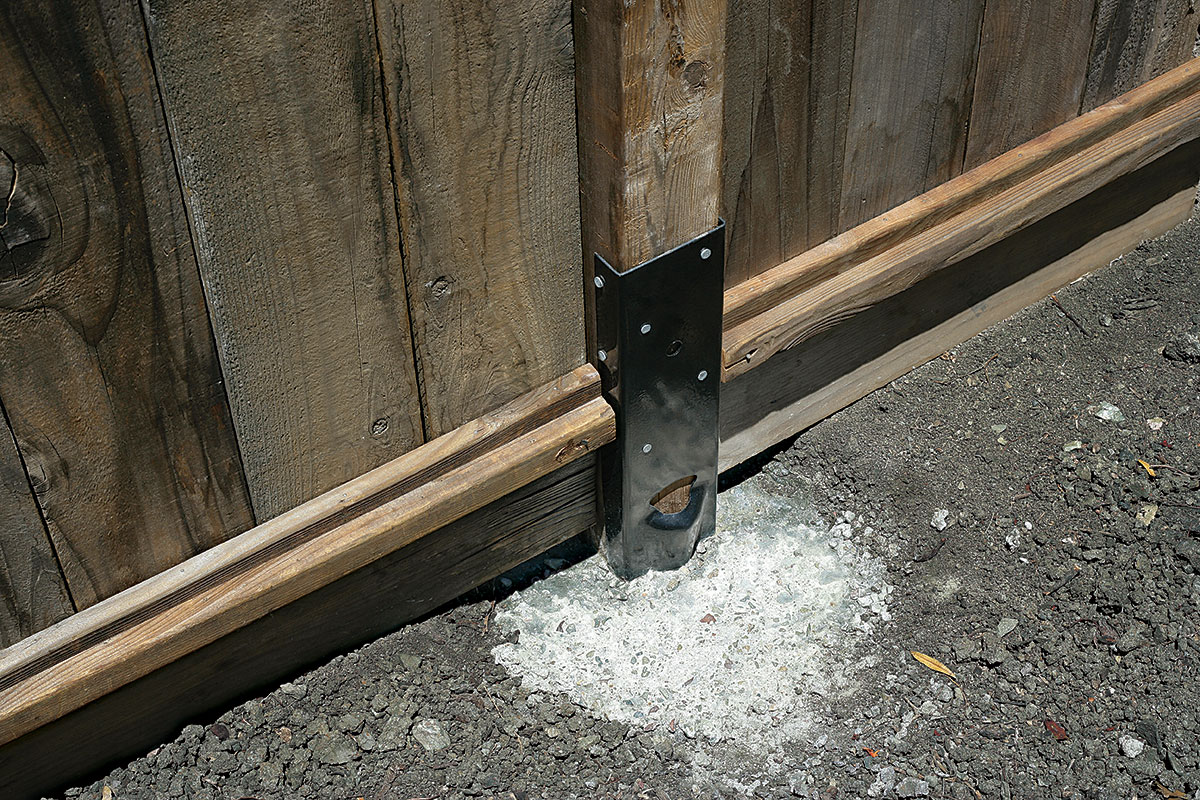
Three common methods for temporarily stabilizing a leaning or slightly damaged post include using post supports, bracing the post with temporary supports (such as 2x4s and screws), and resetting the post in the ground if it’s slightly loose. Post supports are commercially available brackets that clamp onto the post and provide additional support. Temporary bracing involves using additional lumber to support the leaning post until a permanent solution can be implemented.
Using Post Supports and Temporary Bracing
Post supports are attached to the post and driven into the ground to provide extra support. Temporary bracing involves using strong, straight pieces of lumber to create a temporary support structure, usually secured with screws or nails. This prevents further leaning or damage until a complete repair can be undertaken.
Comparison of Temporary Repair Methods

Source: maunindustries.com
| Method | Cost | Effectiveness | Time Required |
|---|---|---|---|
| Post Supports | Low to Moderate | Moderate to High (depending on the severity of damage) | 30-60 minutes |
| Temporary Bracing | Low | Moderate (short-term solution) | 1-2 hours |
| Resetting Post | Low to Moderate | High (if the post is only slightly loose) | 1-3 hours |
Complete Replacement of a Broken Fence Post
If the post is severely damaged or beyond repair, complete replacement is necessary to ensure the fence’s structural integrity and safety. This involves removing the old post and installing a new one using appropriate techniques.
Removing a Broken Fence Post
Start by carefully removing any attached fence rails or wires. Use a post-hole digger or shovel to loosen the soil around the base of the post. Once the soil is loosened, carefully lever the post out of the ground using a pry bar. If concrete is present, you may need a sledgehammer and chisel to break up the concrete.
Setting a New Fence Post
Source: com.au
Dig a hole at least 2-3 feet deep and wide enough to accommodate the new post and concrete. The depth should be appropriate for the soil type and the height of the fence. Set the post in the hole, ensuring it’s plumb (perfectly vertical). Mix concrete according to the manufacturer’s instructions. Pour the concrete into the hole, ensuring the post remains plumb. Allow the concrete to fully cure before attaching fence rails or wires.
Concrete Selection and Post-Setting Methods
Use a concrete mix specifically designed for outdoor use and fence post installation. The amount of concrete needed depends on the hole size and post diameter. While concrete is the most common method, gravel can also be used, though it provides less stability. Concrete provides superior support and longevity, particularly in unstable soil conditions.
Material Selection and Preparation
Choosing the right wood and properly preparing it for installation is essential for a long-lasting fence post. Consider factors such as rot resistance, durability, and cost when selecting the wood.
Wood Types and Treatment

Source: diydoneright.com
Durable wood choices for fence posts include cedar, redwood, and pressure-treated lumber. Pressure-treated lumber is designed to resist rot and insect damage, making it a popular and cost-effective option. Always treat the end of the new post with a wood preservative to prevent water absorption and rot.
Preparing the New Post
Source: mechanicsurplus.com
Cut the new post to the correct length, ensuring it extends at least 2-3 feet below ground level. Apply a wood preservative to the end that will be buried in the ground. Allow sufficient drying time before installation.
Materials List for Post-Replacement

Source: ytimg.com
- One new fence post (appropriate length and type of wood)
- Post hole digger or shovel
- Pry bar
- Level
- Measuring tape
- Concrete mix (appropriate amount)
- Wheelbarrow (optional)
- Shovel
- Wood preservative
- Safety glasses and gloves
Preventing Future Damage
Regular maintenance and proper installation techniques are key to extending the lifespan of your wood fence posts. Proactive measures can significantly reduce the risk of future problems.
Causes of Fence Post Failure and Preventative Measures
Common causes of failure include inadequate depth during installation, use of untreated wood, poor drainage around the post base, and lack of regular maintenance. Preventative measures include using pressure-treated lumber, ensuring proper post depth, maintaining good drainage, and regularly inspecting the fence for signs of damage.
Selecting Durable Posts and Proper Installation
Choose durable, rot-resistant wood types like cedar or pressure-treated lumber. Ensure the post is set at the correct depth and surrounded by well-compacted soil or concrete. Properly brace the post during installation to prevent leaning or shifting.
Preventative Maintenance Schedule
A yearly inspection of the fence is recommended. Check for signs of rot, cracks, insect damage, and leaning posts. Address any issues promptly to prevent further damage. Clean debris away from the base of the posts to promote good drainage.
Illustrative Examples of Damage and Repair
Rotted Post Base
Imagine a fence post where the bottom few inches are soft and spongy, indicating severe rot. The wood might crumble easily when touched. The repair would involve removing the rotten portion, digging a deeper hole, setting a new post in concrete, and ensuring good drainage around the base to prevent future rot.
Post Snapped in Half
Consider a scenario where a fence post has been broken cleanly in half due to impact, possibly from a vehicle or strong wind. The break is usually clean and straight. Repair would involve removing the broken post, installing a new post of the correct length, and ensuring proper support and bracing to prevent future breakage.
Properly Installed Fence Post
A properly installed fence post would sit firmly and plumb in a hole at least 2-3 feet deep, surrounded by well-compacted concrete. The top of the post would be level with the other posts, and the fence rails would be securely attached. The base of the post would be protected from moisture accumulation by proper drainage and potentially a layer of gravel.
Helpful Answers
What type of wood is best for replacing a fence post?
Pressure-treated lumber is a popular choice due to its resistance to rot and insect damage. Cedar and redwood are also excellent options, known for their natural durability.
How deep should I bury a new fence post?
At least one-third of the post’s length should be buried, and deeper is better in unstable soil. This provides adequate support and stability.
How long does it take for concrete to set properly in a fence post hole?
Allow at least 24 hours for the concrete to cure before applying any significant stress to the post. Longer is better, especially in colder climates.
Can I use gravel instead of concrete to set a fence post?
Gravel provides less stability than concrete, making it suitable only for very small, lightweight fences or as a temporary solution. Concrete is generally recommended for long-term stability.
What should I do if I suspect insect infestation in my fence posts?
Inspect the wood thoroughly for holes and tunnels. If infestation is present, you may need to replace the affected posts and treat surrounding posts with insecticide to prevent further damage.
Comments are closed.