How To Put Up Your Own Fence

How to Put up Your Fence is a rewarding DIY project that can significantly enhance your property’s curb appeal and security. This guide provides a comprehensive walkthrough, from initial planning and material selection to the final finishing touches. Whether you’re a seasoned DIY enthusiast or a complete beginner, we’ll equip you with the knowledge and step-by-step instructions to successfully erect your fence, transforming your outdoor space and adding considerable value to your home. We’ll cover various fence types, necessary tools, permit acquisition, and detailed installation techniques, ensuring a successful and satisfying project.
This guide will cover all aspects of fence construction, from planning and material selection to the final installation and maintenance. We will explore different fence materials, their pros and cons, and provide detailed instructions for each stage of the process, including digging post holes, setting posts in concrete, installing rails and panels, and installing gates. We will also address common problems and provide solutions, ensuring a successful and long-lasting fence.
Planning Your Fence Project
Building your fence is a rewarding project that can enhance your property’s curb appeal and provide privacy. Effective planning is crucial for a successful outcome. This section Articulates the key considerations for planning your fence project, from material selection to obtaining necessary permits.
Fence Material Selection
Choosing the right fence material depends on your budget, aesthetic preferences, and the level of maintenance you’re willing to undertake. Here’s a comparison of common materials:
| Material | Cost | Durability | Maintenance |
|---|---|---|---|
| Wood | Moderate to High | Moderate to High (depending on wood type and treatment) | High (staining, sealing, repairs) |
| Vinyl | High | High | Low |
| Metal (Chain Link, Wrought Iron) | Moderate to High (depending on type) | High | Low to Moderate |
Tools and Equipment
Having the right tools ensures efficient and safe fence installation. Gather the following:
- Post hole digger or auger
- Shovel
- Level
- Plumb bob
- Measuring tape
- Concrete mixer
- Post-hole diggers
- Hammer or mallet
- Drill with appropriate bits
- Safety glasses and gloves
Permitting and Approvals
Before starting construction, check with your local authorities about necessary permits and regulations. Requirements vary by location and may include setbacks from property lines, height restrictions, and material specifications. Contact your city’s building department to obtain the required paperwork and understand the permitting process.
Sample Fence Plan (50-foot Property Line)
This plan Artikels a basic fence layout for a 50-foot property line. Adjustments may be needed based on your specific needs and local regulations. The plan includes four posts, equally spaced at 12.5 feet, and a centrally located gate.
Post Placement: Posts are placed at the beginning, middle, and end of the property line and the gate location. The gate will be 4 feet wide.
Gate Location: The gate is positioned in the center of the fence line for easy access.
Site Preparation and Post-Installation
Proper site preparation and post-installation are fundamental to a strong and durable fence. This section details the steps involved in ensuring a solid foundation for your fence.
Digging Post Holes

Source: landscapingnetwork.com
Digging accurately sized and spaced post holes is crucial. Holes should be deep enough to accommodate the post and a significant portion of concrete for stability. The recommended depth is typically one-third of the post’s above-ground height. For example, for a 6-foot post, the hole should be approximately 2 feet deep. Ensure the holes are straight and vertical. The following diagrams illustrate the proper hole dimensions:
Diagram 1: Illustrates a correctly sized post hole, showing the relationship between post length, hole depth, and concrete setting. The diagram shows the post extending above ground and the portion below ground embedded in concrete. The diagram also highlights the proper spacing between holes.
Diagram 2: Illustrates the use of a post-hole digger to ensure a straight and vertical hole. The diagram shows the correct technique for using the tool to avoid digging a hole that is angled or uneven.
Setting Fence Posts in Concrete
Mixing concrete correctly is essential for post-stability. A common ratio is one part cement, two parts sand, and three parts gravel. Add water gradually until you achieve a workable consistency. Place a layer of gravel at the bottom of the hole for better drainage. Position the post, ensuring it’s plumb (perfectly vertical) and level. Fill the hole with concrete, tamping it down to eliminate air pockets. Allow the concrete to cure completely, typically 24-48 hours, before proceeding.
Post-Setting Techniques
Both post-hole diggers and augers are effective for creating post-holes. Post-hole diggers are best for smaller holes, while augers are more efficient for larger holes and harder ground. Augers are typically powered and thus are more efficient in time and effort.
Leveling Fence Posts
Accurate leveling is vital for a straight fence. Use a level to ensure the posts are vertical and a plumb bob to check for any deviations. Make adjustments as needed before the concrete sets.
Installing Fence Rails and Panels

Source: ytimg.com
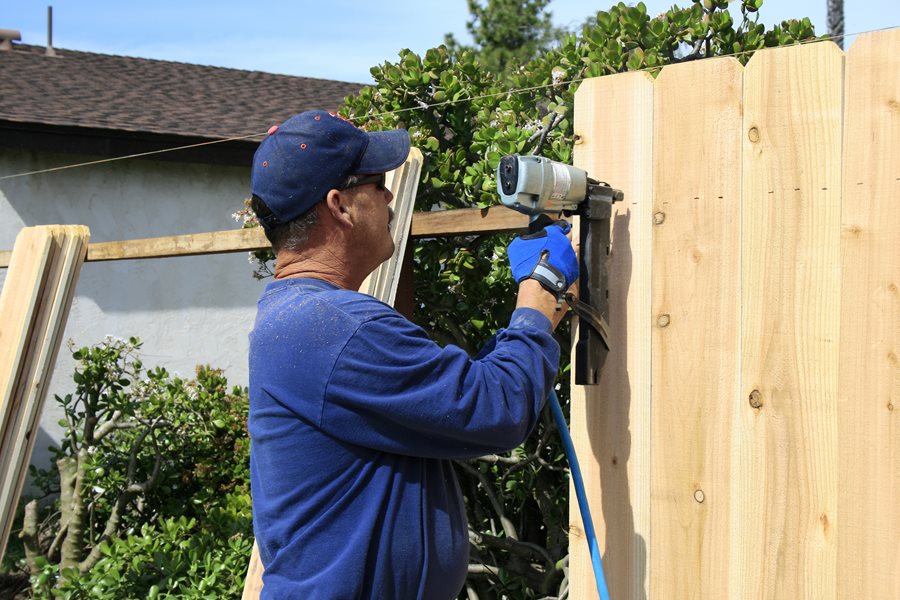
This section guides you through the process of installing fence rails and panels, whether pre-fabricated or custom-built.
Attaching Fence Rails
Securely attaching rails to the posts is crucial for the fence’s structural integrity. Use galvanized or stainless steel screws or lag bolts appropriate for the chosen material. Pre-drill holes to prevent splitting the wood and ensure proper alignment.
Installing Pre-fabricated Panels, How to put up your fence
Pre-fabricated panels simplify the installation process. Align the panels with the rails, ensuring consistent spacing and alignment. Use appropriate fasteners to attach the panels securely to the rails.
Building and Installing Custom Fence Panels
Building custom panels allows for greater design flexibility. Follow these steps:
- Cut the boards or pickets to the desired length.
- Assemble the panels using appropriate fasteners and spacing.
- Attach the assembled panels to the rails using appropriate fasteners.
- Ensure consistent spacing and alignment between panels.
Spacing and Aligning Fence Panels

Source: backyardscape.com
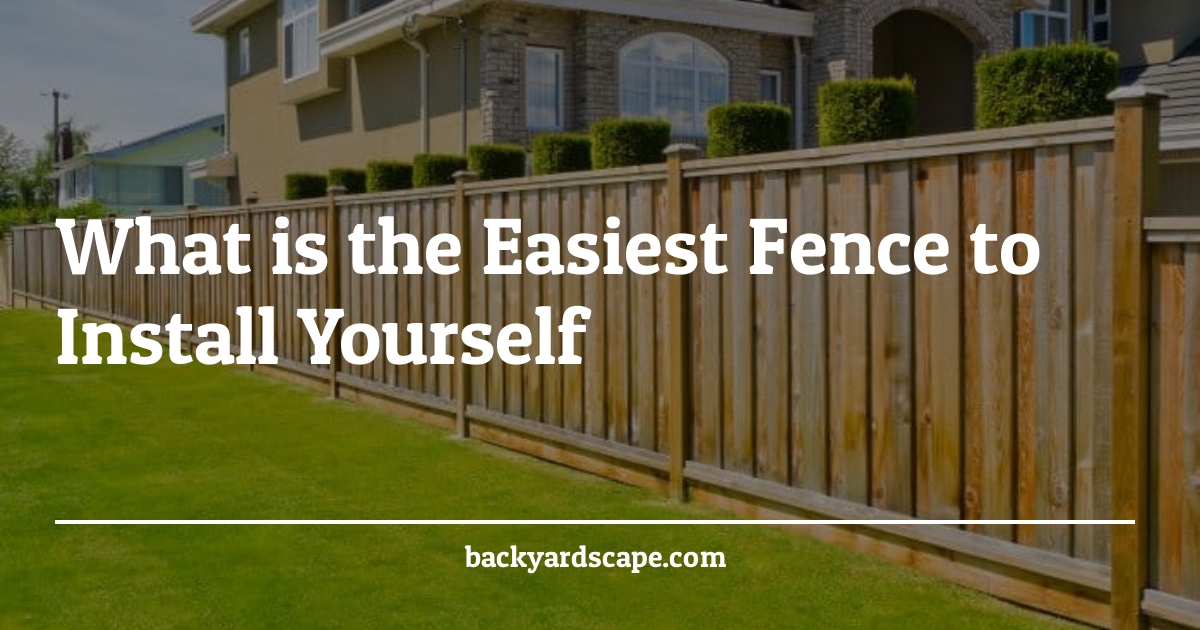
Maintaining consistent spacing and alignment between panels creates a professional-looking fence. Use spacers to ensure uniform gaps between panels. Regularly check alignment using a level and make adjustments as needed.
Installing a Gate

Source: ytimg.com
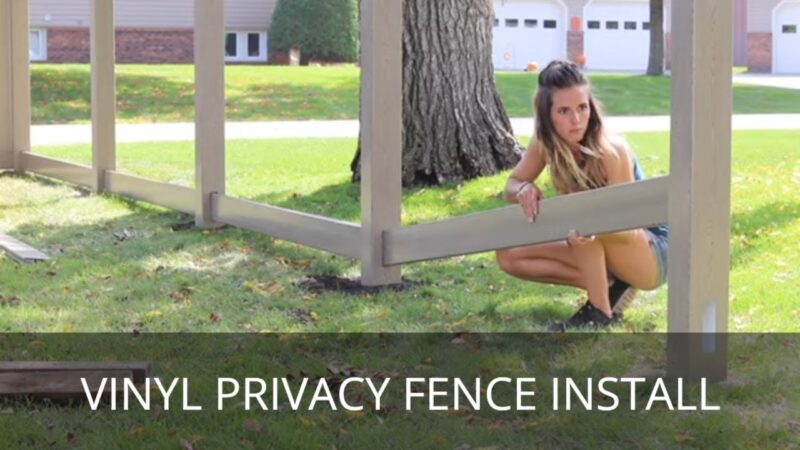
Gate installation requires careful attention to detail to ensure smooth operation and security. This section covers swing and sliding gate installation.
Installing a Swing Gate
Install hinges securely to the gate and posts. Ensure proper alignment before attaching the latch. Choose the appropriate latch mechanism based on security and ease of use.
| Latch Type | Pros | Cons |
|---|---|---|
| Hook and Eye Latch | Simple, inexpensive | Less secure |
| Spring Latch | Secure, easy to use | More expensive |
| Padlock Latch | Highly secure | Requires a padlock |
Installing a Sliding Gate
Install the track system securely and ensure the rollers operate smoothly. Proper alignment is crucial for smooth gate operation. The gate should slide easily along the track without binding.
Gate Alignment and Operation
After installation, check the gate’s alignment and operation. Adjust as needed to ensure smooth and effortless opening and closing.
Self-Closing Gate Mechanism
A self-closing gate mechanism utilizes a spring or other device to automatically close the gate. A diagram would show the spring or other mechanism attached to the gate, working in conjunction with a stop to control the closing speed. This ensures the gate is always closed and secured.
Finishing Touches
Final touches enhance the fence’s appearance and longevity. This section covers maintenance and common problem-solving.
Staining or Painting a Wooden Fence
Applying a stain or paint protects the wood from the elements and enhances its appearance. Use a high-quality exterior-grade product and follow the manufacturer’s instructions. Ensure proper surface preparation before applying the finish.
Fence Maintenance and Repair
Regular maintenance is crucial for extending the fence’s lifespan. This includes inspecting for damage, tightening loose fasteners, and addressing any issues promptly.
Common Fence Problems and Solutions
Addressing common problems proactively prevents larger issues. Here are some common problems and solutions:
- Problem: Sagging fence. Solution: Tighten loose fasteners or replace damaged posts.
- Problem: Rotting wood. Solution: Replace the affected sections of wood.
- Problem: Crooked posts. Solution: Re-set the posts using additional concrete or bracing.
Post-Installation Checklist
A post-installation checklist helps ensure a long-lasting fence. This checklist should include verifying proper alignment, checking for any loose components, and ensuring all fasteners are secure. A final walk-through to identify any minor issues should also be performed.
FAQ Corner: How To Put Up Your Fence
What is the best time of year to install a fence?
Spring or fall are generally ideal, as the ground is typically easier to work with than in the summer heat or winter freeze.
How deep should my fence posts be buried?
At least one-third of the post’s total length should be buried, and deeper is often better for stability. Local building codes may dictate specific depth requirements.
What type of concrete should I use for setting fence posts?
Use a concrete mix specifically designed for outdoor use and capable of withstanding freeze-thaw cycles. Follow the manufacturer’s instructions for mixing ratios.
How do I prevent my wooden fence from rotting?
Use pressure-treated lumber, apply a high-quality wood sealant or stain, and ensure proper drainage around the fence base to prevent water accumulation.
What are some common fence problems and their solutions?
Common issues include sagging fence panels (tighten fasteners or replace damaged sections), leaning posts (re-set posts in concrete), and damaged gate latches (replace or repair the latch mechanism).
Comments are closed.