How To Set Posts In Concrete
How to set posts in concrete is a fundamental skill for various outdoor projects, from building sturdy fences to constructing durable decks. This seemingly simple task requires careful planning and execution to ensure long-lasting stability and structural integrity. Understanding the nuances of selecting the appropriate concrete mix, preparing the hole correctly, and employing proper setting and curing techniques are crucial for success. This guide will walk you through each step, providing you with the knowledge and confidence to tackle your next post-setting project with ease and precision. We’ll cover everything from choosing the right concrete for your soil conditions to troubleshooting common problems encountered during the process.
We will explore the differences between setting wooden and metal posts, highlighting the unique challenges and solutions for each material. Furthermore, we’ll provide detailed examples of setting posts for various applications, such as fences, decks, and mailboxes, offering practical insights into real-world scenarios. By the end of this guide, you will be equipped to confidently and successfully set posts in concrete for any project.
Setting Fence Posts in Concrete: A Comprehensive Guide

Source: theprogarden.com
Setting posts in concrete is a crucial step in many construction projects, ensuring stability and longevity for structures like fences, decks, and mailboxes. This guide provides a detailed, step-by-step process for successfully setting posts, regardless of material. We’ll cover choosing the right concrete mix, preparing the hole, setting the post, ensuring stability, curing the concrete, and troubleshooting common problems.
Concrete Mix Selection for Post Setting, How to set posts in concrete
The choice of concrete mix significantly impacts the longevity and stability of your post. Factors like soil conditions and the post’s intended load-bearing capacity must be considered. Quick-setting concrete is often preferred for its rapid curing time, minimizing project downtime.
| Concrete Mix Type | Compressive Strength (psi) | Setting Time (hours) | Suitable Applications |
|---|---|---|---|
| Standard Concrete Mix (e.g., 5000 psi) | 5000+ | 4-6 | Most general post applications, where faster setting is not critical. |
| Quick-Setting Concrete (e.g., 4000 psi) | 4000+ | 1-3 | Applications requiring rapid setting, such as fence posts in high-traffic areas. |
| High-strength concrete (e.g., 6000 psi) | 6000+ | 4-6 | Heavy-duty applications, such as large deck posts or posts in unstable soil. |
| Ready-Mix Concrete (various strengths) | Varies | Varies | Convenient option, strength, and setting time determined by the supplier. |
Soil conditions are paramount. Clay soils require a higher-strength concrete mix to prevent settling, while well-drained sandy soils may accommodate a standard mix. Quick-setting concrete is advantageous in areas prone to heavy rain or where rapid project completion is vital.
Quick-setting concrete boasts a significantly faster setting time compared to standard mixes. This accelerated curing reduces the time the post is unsupported, making it ideal for situations requiring minimal downtime or where weather conditions might disrupt the setting process.
Hole Preparation for Post-Installation

Source: howtospecialist.com
Proper hole preparation is critical for ensuring a stable and plumb post. The hole’s dimensions must accommodate the post and a sufficient volume of concrete for adequate support.
Digging the hole to the correct depth and diameter is crucial. The depth should be sufficient to allow for at least one-third of the post’s length to be embedded in concrete, and the diameter should be slightly larger than the post to allow for proper concrete placement and compaction. Ensuring the hole is plumb and level prevents the post from leaning, using a level to check regularly.
Compacting the soil at the hole’s bottom creates a stable base, preventing settling. This can be achieved by tamping the soil with a tamper or similar tool. This ensures the concrete makes good contact with the base and prevents voids.
Setting the Post in Concrete

Source: atimprovements.com
Setting a wooden post in concrete requires a methodical approach to guarantee stability. The following steps provide a detailed guide.
- Position the post in the hole, ensuring it is plumb and level using a post level. Adjust as needed.
- Mix the concrete according to the manufacturer’s instructions, ensuring a consistent, workable mixture.
- Gradually add the concrete to the hole, ensuring it surrounds the post and fills any voids.
- Tamp the concrete gently to remove air pockets and ensure a solid base.
- Check the post’s plumpness one last time and adjust if necessary.
- Allow the concrete to cure completely.
Essential tools for this process include a post-hole digger, shovel, tamper, level, mixing bucket, and concrete.
Ensuring Post Support and Stability During Setting

Source: pinimg.com
Maintaining the post’s verticality and preventing shifting during the concrete’s curing phase is vital. This section explores various support methods.
Formwork, such as bracing boards, can be used to temporarily support the post. This prevents leaning or movement while the concrete sets. Bracing can be achieved using temporary supports, such as stakes driven into the ground and attached to the post. Alternatively, using a sturdy post level helps to ensure the post remains vertical.
Several bracing methods exist, each offering varying degrees of support. Temporary bracing using wooden stakes and string offers simple support. More robust systems utilize metal braces for added stability in challenging conditions or with larger posts. The choice depends on the post size, soil conditions, and the project’s specific requirements.
Concrete Curing for Long-Term Stability

Source: atimprovements.com
Proper curing is crucial for achieving the concrete’s maximum strength and ensuring the post’s long-term stability.
Keeping the concrete moist during curing prevents rapid drying and cracking. This can be achieved by regularly watering the concrete surface or covering it with a damp burlap sack. Factors influencing curing time include temperature, humidity, and the type of concrete used. Higher temperatures generally accelerate curing, while lower temperatures slow it down.
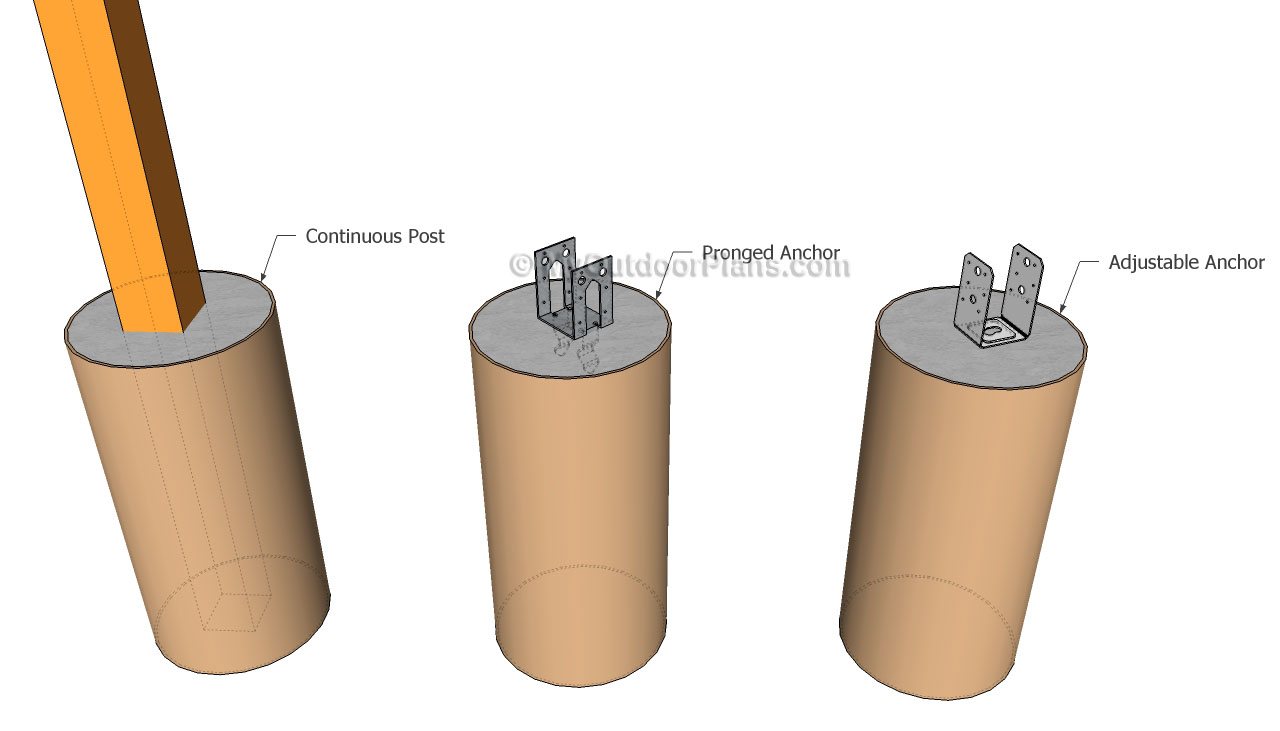
Setting Metal Posts in Concrete
Setting metal posts requires considerations to prevent corrosion. While the process is similar to setting wooden posts, specific precautions are necessary.
Metal posts require protection against corrosion. This can be achieved by using galvanized metal posts or applying a rust-inhibiting coating before setting them in concrete. Ensure that the concrete is well-mixed and free of air pockets to provide optimal support and minimize the risk of corrosion.
- Use galvanized or powder-coated metal posts for corrosion resistance.
- Ensure the post is clean and free of debris before setting it in concrete.
- Use a concrete mix designed for metal applications if necessary.
Troubleshooting Common Post-Setting Problems
Several issues can arise during post-setting. This section addresses common problems and their solutions.
Uneven settling can occur due to inadequate soil compaction or variations in soil density. Cracking may result from rapid drying or improper concrete mixing. Repairing these issues might involve removing the affected concrete, recompacting the soil, and resetting the post with fresh concrete. For cracked concrete, filling the cracks with a suitable patching compound is often sufficient.
Illustrative Examples of Post-Setting
Source: myoutdoorplans.com
Different post types present unique challenges. This section details three scenarios.
- Fence Post: Fence posts typically require multiple posts set at regular intervals. Challenges include ensuring consistent depth and alignment across all posts. A correctly set fence post stands plumb, is firmly embedded in concrete, and shows no visible gaps between the post and concrete.
- Deck Post: Deck posts bear significant weight. They need a deeper setting and higher-strength concrete mix to ensure stability. A correctly set deck post is firmly embedded, plumb, and shows no signs of movement or instability.
- Mailbox Post: Mailbox posts typically require less substantial concrete support. Challenges might include ensuring a level top surface for the mailbox installation. A correctly set mailbox post stands straight, the mailbox is level on top, and the concrete is neatly finished around the base.
FAQ Guide: How To Set Posts In Concrete
What type of post level should I use?
A torpedo level or a magnetic level are both suitable for accurately checking the plumpness and level of your post during setting.
How long should I let the concrete cure before using the post?
Allow at least 24-72 hours for the concrete to cure, depending on the weather and type of concrete used. Consult the concrete manufacturer’s instructions for specific curing times.
What should I do if the concrete cracks after setting the post?
Minor cracks are often cosmetic. However, significant cracks may indicate a problem with the concrete mix or setting process. If concerned, consult a professional for repair advice.
Can I reuse concrete that has already been mixed?
No. Once concrete starts to set, it loses its strength and workability. It’s best to mix only the amount you can use within the setting time specified by the manufacturer.
How do I prevent the post from rotting if using wood?
Treat the wooden post with a preservative designed for ground contact before setting it in concrete. This helps to protect the wood from moisture damage.
Comments are closed.