Installing A Split Rail Fence
Installing a split rail fence is a rewarding project that enhances property aesthetics and provides a functional boundary. This guide offers a step-by-step approach, covering everything from meticulous planning and material selection to the final touches that ensure a durable and visually appealing fence. We will explore various techniques, address common challenges, and provide insights into optimizing the entire process, ensuring a successful outcome for your fencing endeavor. Whether you’re a seasoned DIY enthusiast or a novice tackling your first fencing project, this guide will equip you with the knowledge and confidence to build a stunning split rail fence.
From careful site preparation and post-installation strategies to the intricacies of rail attachment and gate construction, we’ll delve into the practical aspects of building a lasting fence. We’ll also discuss different fence styles, material choices, and maintenance techniques to ensure your fence remains a beautiful and functional addition to your property for years. This comprehensive guide will transform your vision of a split rail fence into a tangible reality.
Planning & Preparation for Split Rail Fence Installation
Proper planning and preparation are crucial for a successful split rail fence installation. This section illustrates the necessary tools, materials, and site preparation steps for a 100-foot fence project. Accurate measurements and careful terrain consideration will ensure a smooth and efficient installation process.
Tools and Materials
Source: pinimg.com
Gathering the right tools and materials beforehand saves time and frustration. For a 100-foot fence, you’ll likely need the following:
- Fence Posts: Approximately 20-25 posts (depending on post spacing), 6-8 feet long, treated lumber.
- Rails: Approximately 100 linear feet of split rail lumber, considering overlaps and waste.
- Post-Hole Digger: A manual or power auger is recommended for efficient post-hole digging.
- Shovel: For backfilling and leveling the ground.
- Level: To ensure posts are plumb and level.
- Measuring Tape: This is used for accurate measurements of post spacing and rail lengths.
- Post-hole Digger: Manual or power auger
- Concrete Mix (optional): For added stability in challenging soil conditions.
- Gravel (optional): Alternative to concrete for post-stabilization.
- Safety Glasses and Gloves
- Hammer or Mallet
- Post-hole Digger: Manual or power auger
Fence Layout Design
A well-planned layout is essential for a visually appealing and structurally sound fence. Consider terrain variations and obstacles like trees or rocks when designing your fence line. The following table provides a sample layout for a 100-foot fence:
| Post Number | Distance from Previous Post (ft) | Total Distance from Start (ft) | Rail Length (ft) | Notes |
|---|---|---|---|---|
| 1 | – | 0 | 8 | Corner Post |
| 2 | 8 | 8 | 8 | – |
| 3 | 8 | 16 | 8 | – |
| 4 | 8 | 24 | 8 | – |
| … | … | … | … | … |
| 12 | 8 | 96 | 8 | Gate Post |
| 13 | 4 | 100 | 4 | End Post |
Site Preparation
Thorough site preparation is crucial before installing the posts. This includes clearing the area of debris, marking the fence line, and digging post holes.
- Clear the area of any vegetation, rocks, or other obstacles along the fence line.
- Use string and stakes to mark the fence line accurately, following your pre-designed layout.
- Dig post holes at the marked locations. The depth should be at least 1/3 of the post length, and the diameter should comfortably comfortably accommodate the post.
Post Installation
Setting the fence posts correctly is vital for the fence’s stability and longevity. This section covers different ground conditions and post-securing methods.
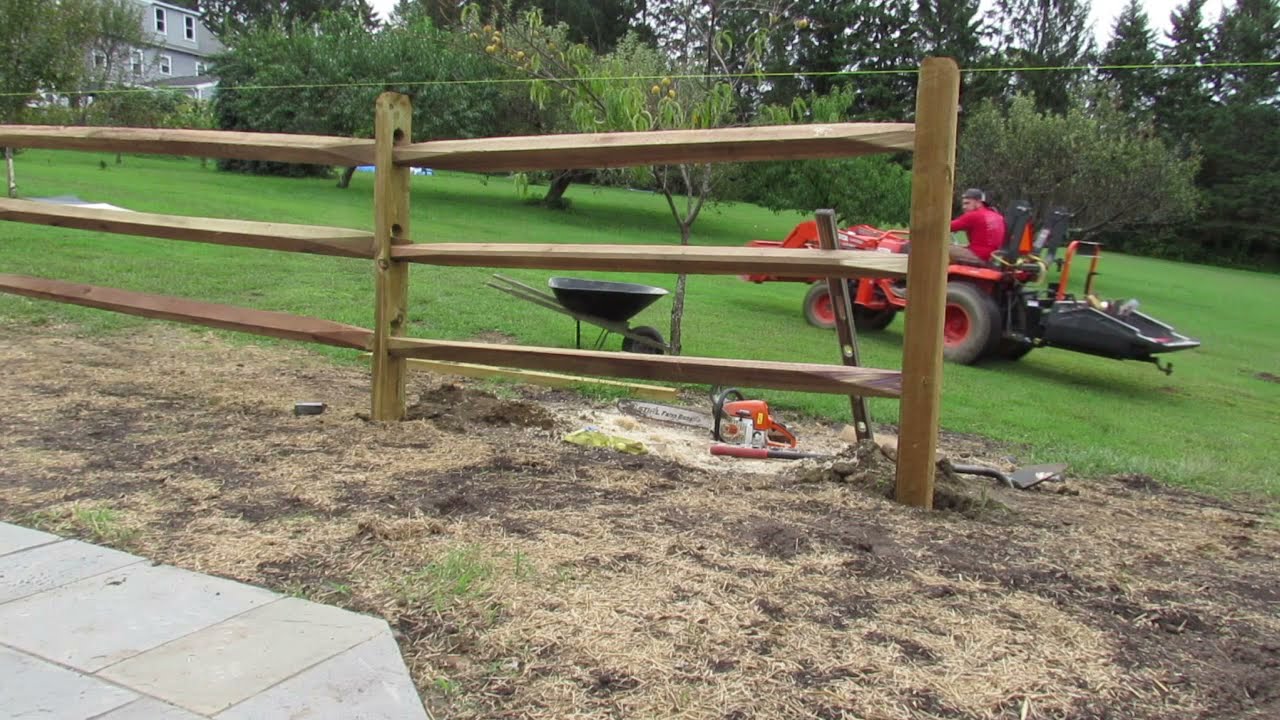
Setting Fence Posts

Source: acrelife.com
The process of setting fence posts varies depending on the ground conditions. Here’s a general guideline:
- Dig the Hole: Use a post-hole digger to create holes of the appropriate depth and diameter at each marked location.
- Position the Post: Carefully place the post in the hole, ensuring it’s plumb (perfectly vertical) using a level.
- Secure the Post: For rocky soil, compacting gravel around the post base provides good stability. For clay soil or added stability in any soil type, consider using a concrete mix to secure the post.
- Backfill: Fill the hole with soil or gravel, compacting it firmly around the post to prevent settling.
Securing Fence Posts
Two primary methods exist for securing fence posts: concrete and gravel. Concrete offers superior stability, especially in loose or unstable soil. Gravel is a simpler and quicker alternative, suitable for well-drained soil. The choice depends on your soil type and desired level of stability.
Ensuring Plumb and Level Posts

Source: pinimg.com
Using a level is crucial to ensure the posts are perfectly vertical and level. A slightly out-of-plumb post can lead to an uneven fence line.
Imagine an image showing a person using a level against a fence post. The level is visible, indicating a perfectly horizontal line. The post itself is straight and firmly planted in the ground. Another image depicts an incorrect installation: the post leans slightly to one side, with the level showing an uneven angle, highlighting the importance of accurate post placement.
Rail Installation: Installing A Split Rail Fence
Attaching the rails to the posts requires careful planning and execution to create a strong and visually appealing fence. This section details the process and addresses potential challenges.
Attaching Rails to Fence Posts
Several methods exist for attaching rails to posts. The choice often depends on personal preference and the type of split rail used.
| Method | Description | Advantages | Disadvantages |
|---|---|---|---|
| Simple Overlap | Rails are simply overlapped and positioned on the posts. | Easy and quick. | Less secure, prone to movement. |
| Notching | Rails are notched into the posts for a tighter fit. | More secure than simple overlap. | Requires more precise cutting and fitting. |
| Lag Screws/Bolts | Rails are secured to the posts using lag screws or bolts. | Very secure, and suitable for heavy rails. | More complex, and requires additional tools. |
Rail Installation on Uneven Terrain
Uneven terrain can present challenges during rail installation. To address this, consider adjusting the post heights to create a level rail line. In some cases, shims might be necessary to compensate for minor irregularities in the ground.
Installing a Split Rail Gate
Installing a gate involves carefully positioning hinges and latches. The gate should be built to the exact dimensions of the gate opening, allowing for smooth operation. Hinges are attached to the gate posts and the gate itself, while the latch mechanism is installed on one post and its corresponding receiver on the gate.
- Measure and cut the gate frame components to the required dimensions.
- Assemble the gate frame using appropriate joinery techniques.
- Attach hinges to the gate posts and the gate frame.
- Install the latch mechanism and receiver.
- Adjust the gate to ensure smooth opening and closing.
Finishing Touches
After the fence is installed, several finishing touches can enhance its appearance and longevity. This section discusses maintenance, troubleshooting, and a final checklist.
Fence Maintenance
Regular maintenance extends the life of your split rail fence. This includes inspecting for loose rails or posts, applying a weather-resistant sealant or stain to protect the wood from the elements, and addressing any damage promptly.
Troubleshooting Common Problems
Common problems include loose rails, sagging fence lines, and damaged posts. Addressing these issues promptly prevents further damage. Loose rails can be tightened, sagging lines can be adjusted by repositioning posts, and damaged posts may require replacement.
Final Checklist, Installing a split rail fence
Before considering the fence complete, review this checklist:
- All posts are plumb and level.
- All rails are securely attached.
- The gate operates smoothly.
- The fence line is straight and visually appealing.
- A weather-resistant sealant or stain has been applied.
Variations & Alternatives
This section explores different materials, styles, and construction methods for split rail fences.
Split Rail Fencing Materials
Source: ytimg.com
Several materials are suitable for split rail fences, each with its characteristics: Cedar is naturally resistant to rot and insects, offering excellent durability. Oak is a strong and long-lasting option, but it’s more expensive. Treated lumber provides affordability and protection against rot, but requires regular maintenance.
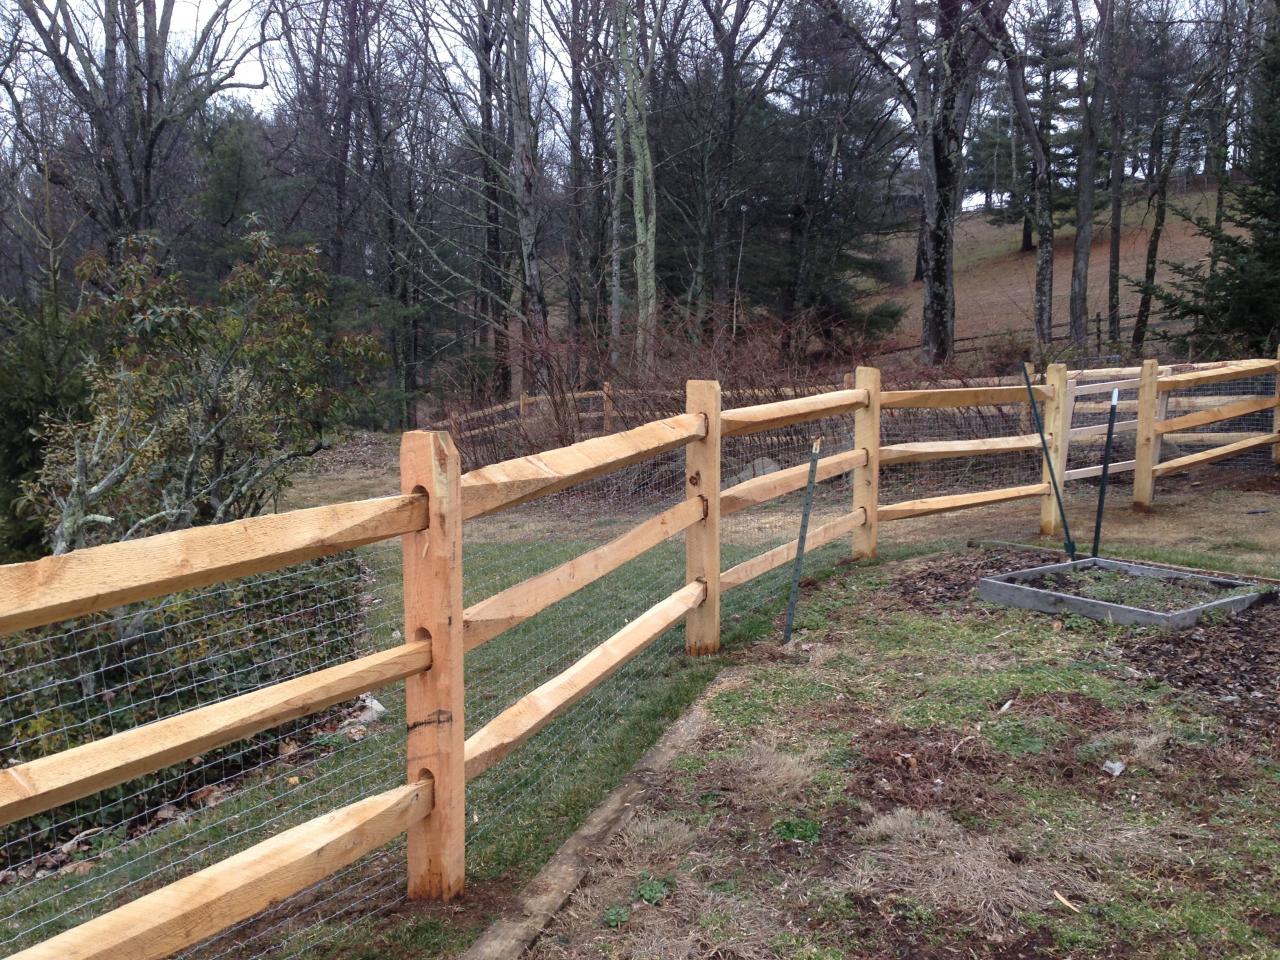
Split Rail Fence Styles
Various rail arrangements and heights create diverse fence styles. Imagine a picture showcasing a three-rail fence with evenly spaced rails. Another image depicts a four-rail fence with staggered rail placement. A third image shows a taller, five-rail fence suitable for livestock containment. Each image clearly illustrates the different aesthetic and functional aspects of the various designs.
Pre-assembled vs. Individual Components
Pre-assembled fence sections offer convenience and speed of installation. However, they often lack customization options and might be more expensive. Building from individual components provides greater flexibility and control over the fence’s design but requires more time and effort.
Detailed FAQs
What type of wood is best for a split rail fence?
Cedar and oak are popular choices due to their durability and resistance to rot. Pressure-treated lumber is also a viable option, offering longevity at a more affordable price point.
How long does a split rail fence last?
With proper installation and maintenance (including periodic treatment with weatherproofing sealant), a split rail fence can last for 15-20 years or even longer.
How deep should I set my fence posts?
The depth depends on the soil type and fence height, but generally, at least one-third of the post’s length should be buried. In challenging soil conditions, a deeper setting is recommended.
Can I install a split rail fence myself?
Yes, with the right tools and careful planning, most DIY enthusiasts can successfully install a split rail fence. However, for large or complex projects, professional assistance may be beneficial.
What is the best time of year to install a split rail fence?
Spring or fall are generally ideal, as the ground is typically neither frozen nor excessively dry, making post-setting easier.
Comments are closed.