Installing A White Picket Fence
Installing a white picket fence is a rewarding project that can dramatically enhance your home’s curb appeal. This guide provides a comprehensive approach, from initial planning and design to the final finishing touches and ongoing maintenance. We’ll explore various fence styles, material choices, and installation techniques, equipping you with the knowledge to complete this classic home improvement task. Whether you’re a seasoned DIY enthusiast or a novice tackling your first home project, this guide will walk you through each step of the process, offering valuable insights and practical advice to ensure a beautiful and long-lasting result.
From meticulously planning your design and selecting the right materials to mastering the art of post-installation and picket attachment, we’ll cover every aspect of the process. We will also delve into essential maintenance tips to preserve your fence’s beauty and longevity, ensuring years of enjoyment from your new white picket fence.
Planning & Design
Careful planning and design are crucial for a successful white picket fence installation. This section identifies three distinct fence styles, material calculations, and cost comparisons between different lumber types.
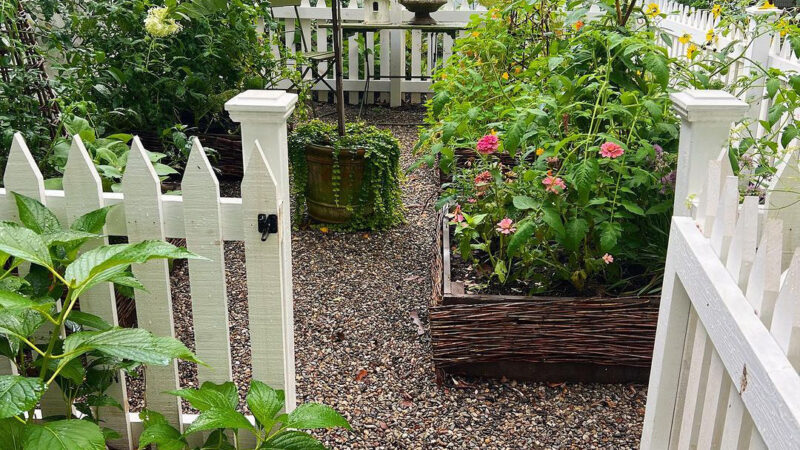
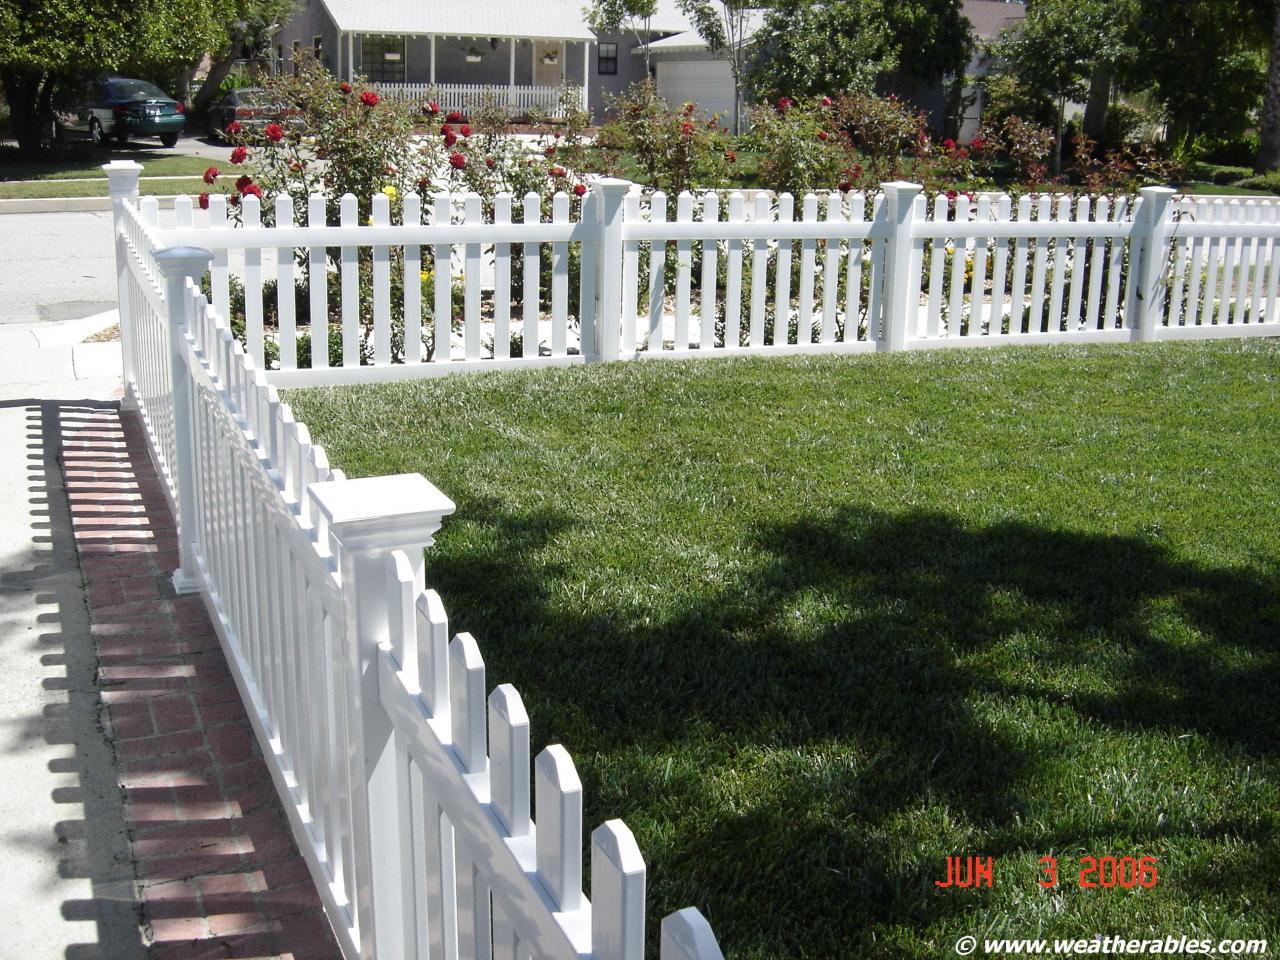
White Picket Fence Designs

Source: pinimg.com
Here are three distinct white picket fence designs, each varying in height and picket spacing:
- Design 1: Classic 3-foot Fence: This design features 3-foot-high pickets spaced 2 inches apart, creating a traditional look. Materials include: 4×4 pressure-treated posts (every 6 feet), 2×4 pressure-treated rails (top and bottom), 1×6 white picket boards, galvanized nails or screws, and concrete.
- Design 2: Modern 4-foot Fence: This design utilizes 4-foot-high pickets spaced 3 inches apart, offering a more contemporary aesthetic. Materials include: 4×4 pressure-treated posts (every 8 feet), 2×4 pressure-treated rails (top and bottom), 1×6 white picket boards, galvanized nails or screws, and concrete.
- Design 3: Tall 5-foot Fence: This taller design incorporates 5-foot-high pickets spaced 4 inches apart, providing enhanced privacy. Materials include: 6×6 pressure-treated posts (every 8 feet), 2×6 pressure-treated rails (top and bottom), 1×8 white picket boards, galvanized nails or screws, and concrete.
Material Calculation for a 50-foot Fence, Installing a white picket fence
Calculating material quantities for a 50-foot fence requires careful consideration of waste and potential terrain irregularities. The following steps illustrate a sample calculation for Design 1 (3-foot fence):
- Posts: A 50-foot fence with 6-foot post spacing requires approximately 9 posts (50 feet / 6 feet per post + 1 for the end).
- Rails: Measure the total length of the fence and double it to account for both top and bottom rails (50 feet x 2 = 100 feet).
- Pickets: Calculate the number of pickets needed per section, considering the picket spacing and fence height. Account for at least 10% extra for waste and cutting errors.
- Concrete: Estimate the amount of concrete needed per post based on hole size and depth. Add 10% to account for any spillage.
Cost Comparison: Pressure-Treated Pine vs. Cedar
| Material | Cost per Unit | Total Cost (Estimate for the 50-foot fence) | Durability |
|---|---|---|---|
| Pressure-Treated Pine | $ Varies by region and supplier | $ Varies | Moderate; requires regular maintenance and treatment. |
| Cedar | $ Higher than Pine | $ Higher | High; naturally resistant to rot and insects, requiring less maintenance. |
Site Preparation: Installing A White Picket Fence
Proper site preparation is fundamental to a sturdy and aesthetically pleasing fence. This involves accurately marking the fence line, preparing the ground, and leveling uneven terrain.
Marking the Fence Line
Precisely marking the fence line ensures straight lines and accurate post placement. This involves using string and stakes to define the perimeter and, adjusting for any existing landscaping features or obstacles. Using a measuring tape and ensuring the string line is taut are crucial for accuracy.
Ground Preparation and Post Hole Digging
Digging post holes to the correct depth and width is critical for fence stability. The depth should be sufficient to anchor the posts securely below the frost line, typically 18-24 inches deep, and the width should accommodate the post and concrete. Using a post-hole digger or auger is recommended for efficiency.
Leveling Uneven Ground
Source: boredpanda.com
Uneven ground can compromise the fence’s structural integrity. Leveling is achieved by removing excess soil from high points and adding gravel or compacted soil to low points. Ensure the ground is firm and level before setting the posts to avoid future settling.
Post Installation
Setting fence posts correctly is essential for the fence’s longevity and stability. This section details the process of setting posts in concrete, along with alternative methods and recommended spacing.
Setting Fence Posts in Concrete
Setting posts in concrete provides superior stability. The process involves mixing concrete according to manufacturer instructions (typically a ratio of one part cement, two parts sand, and three parts gravel), placing the post in the hole, and ensuring it’s plumb (perfectly vertical) before filling the hole with concrete. Allow sufficient curing time (typically 24-48 hours) before proceeding.
Alternative Post-Setting Methods
Metal post anchors offer a quicker alternative to setting posts in concrete, particularly in well-drained soil. However, concrete offers greater stability, especially in challenging soil conditions. The choice depends on the specific site conditions and the desired level of stability.
Recommended Post Spacing
Source: ibsrv.net
| Fence Height (feet) | Soil Type | Post Spacing (feet) | Concrete Amount per Post (cubic feet) |
|---|---|---|---|
| 3 | Well-drained | 6-8 | 1-1.5 |
| 4 | Clay | 6 | 1.5-2 |
| 5 | Rocky | 8 | 2-2.5 |
Picket Installation
Attaching pickets to the rails requires precision and attention to detail. This section Artikels proper nailing/screwing techniques, common mistakes to avoid, and gate installation.
Attaching Pickets to Rails
Pickets are typically attached using galvanized nails or screws, ensuring they are straight and evenly spaced. Pre-drilling pilot holes are recommended to prevent splitting, especially when using screws. Stagger the pickets for a more visually appealing and structurally sound fence.
Common Mistakes to Avoid
Common mistakes include uneven picket spacing, crooked pickets, and using inappropriate fasteners. Careful planning and consistent measurements are crucial to avoid these issues. Using a level and ensuring proper alignment throughout the process will yield a professional finish.
Installing a Gate
Installing a gate involves attaching hinges to the gate posts and the gate itself, ensuring proper alignment and clearance. The latch mechanism should be securely installed, allowing for easy opening and closing while maintaining security.
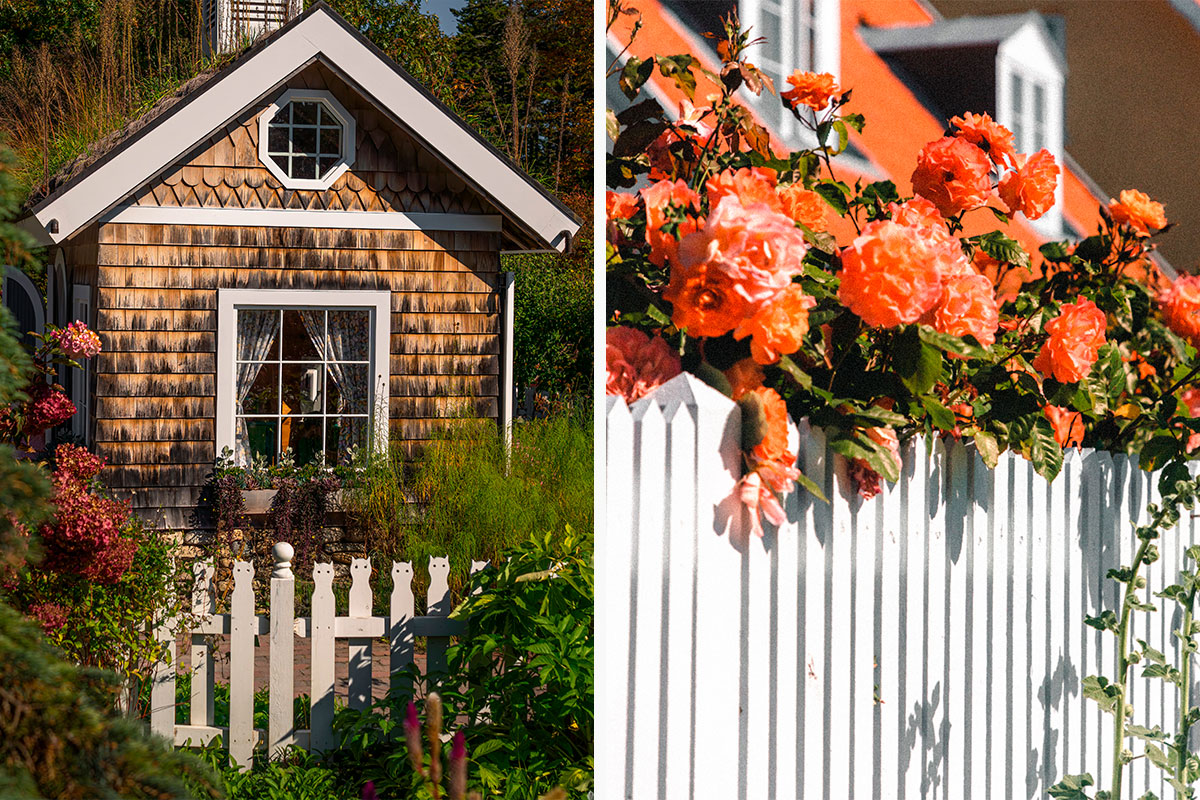
Finishing Touches
Source: pinimg.com
Finishing touches significantly enhance the fence’s appearance and longevity. This involves staining or painting, applying sealant, and adding decorative elements.
Staining or Painting
Applying a high-quality stain or paint protects the wood from the elements and enhances its aesthetic appeal. Ensure the wood is clean and dry before application. Multiple coats are recommended for optimal protection.
Sealant and Weatherproofing
Source: pinimg.com
Using appropriate sealant or weatherproofing products further protects the fence from moisture damage. This helps to extend the fence’s lifespan and maintain its appearance. Apply sealant according to manufacturer instructions.
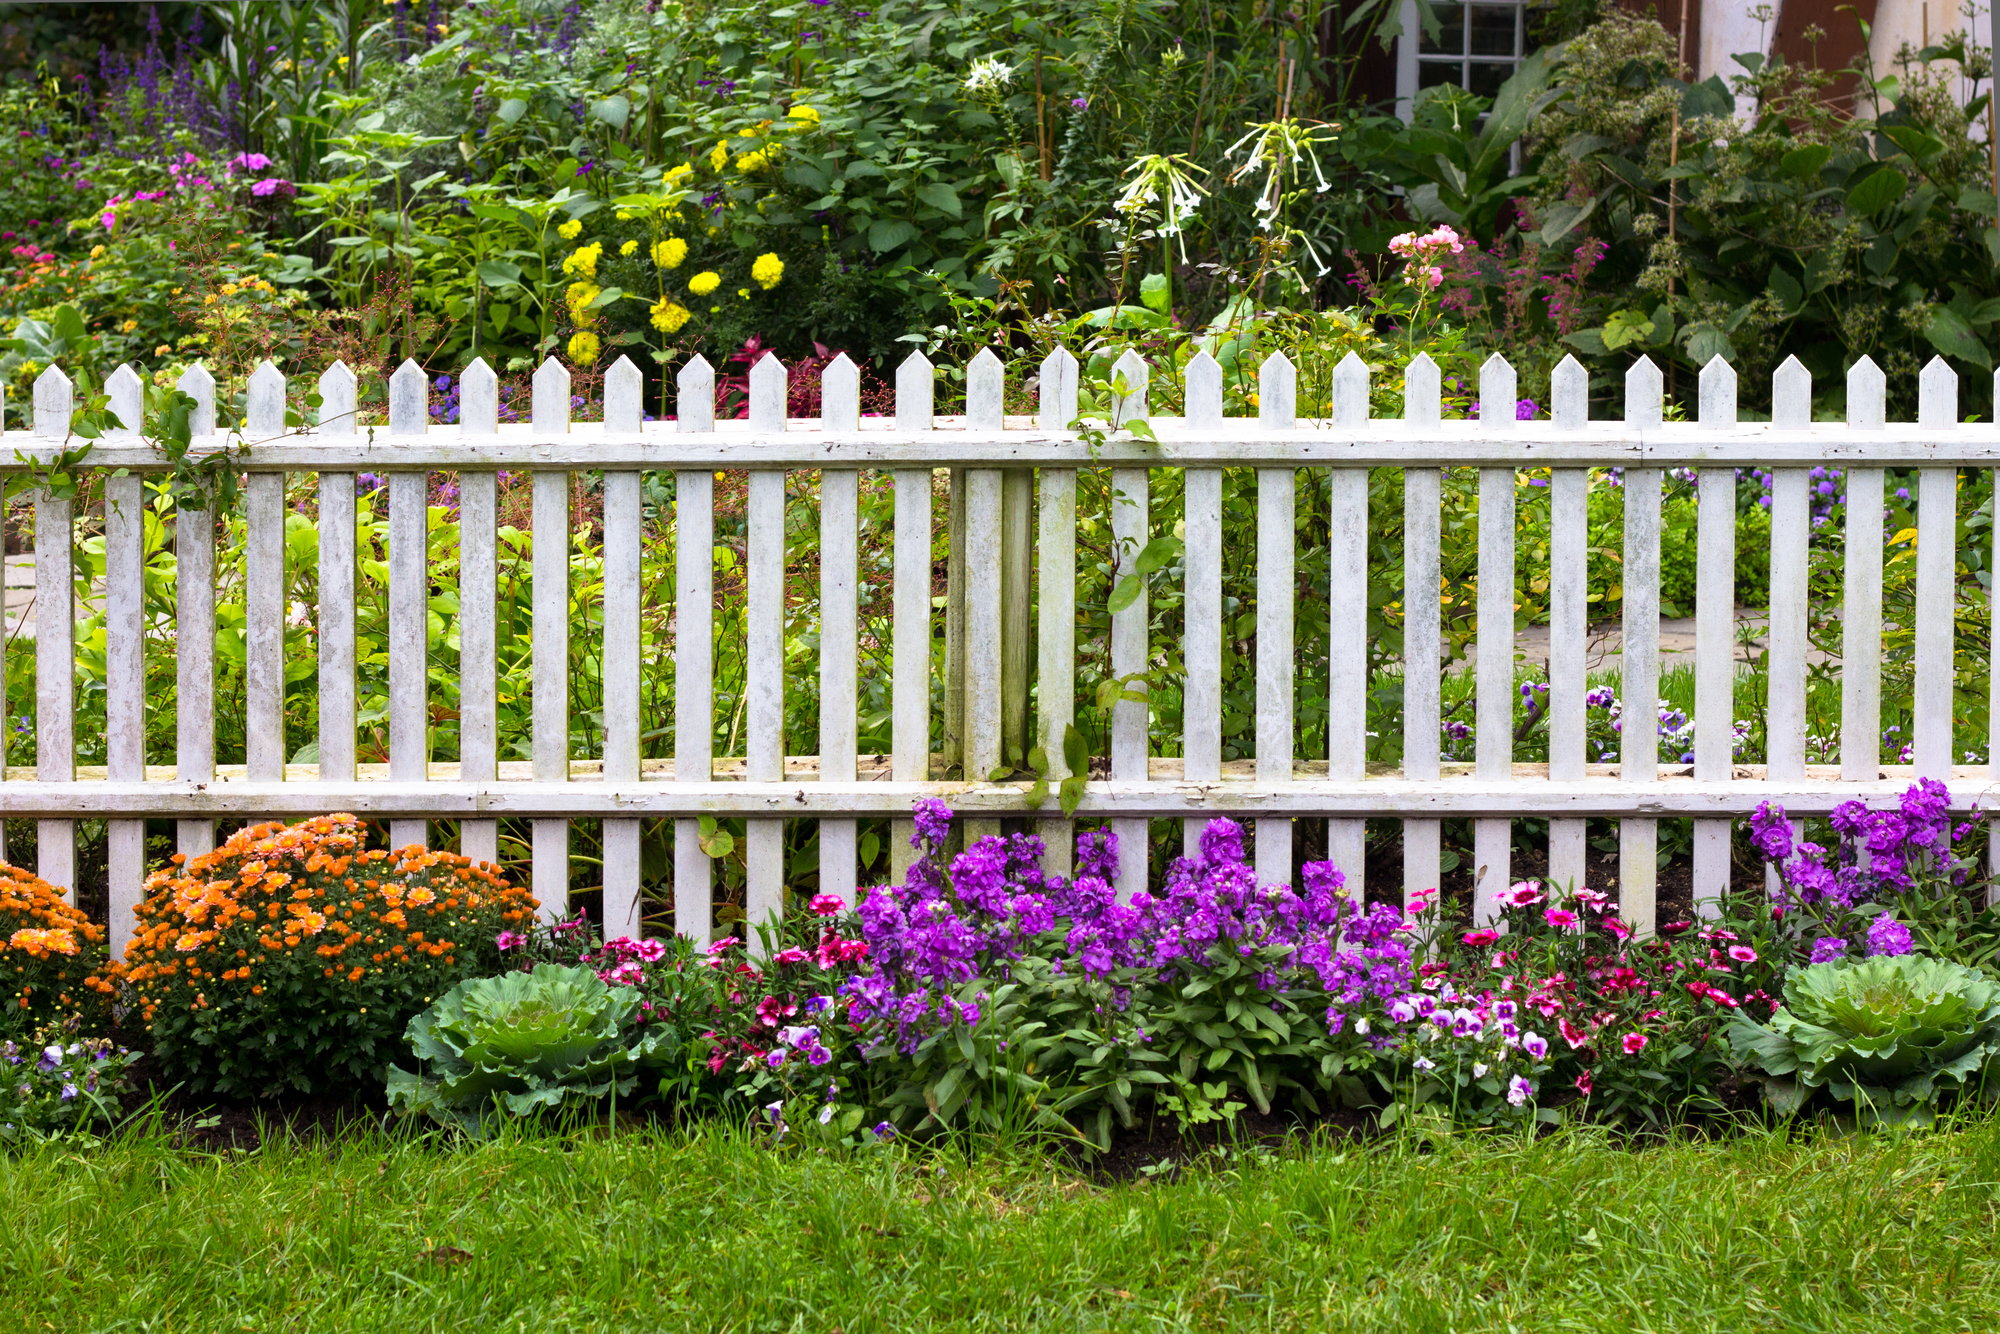
Adding Decorative Elements
Finials, decorative latticework, or other embellishments can significantly enhance the fence’s aesthetic appeal. These elements should complement the overall design and style of the fence and the surrounding landscape. Careful placement and secure attachment are essential.
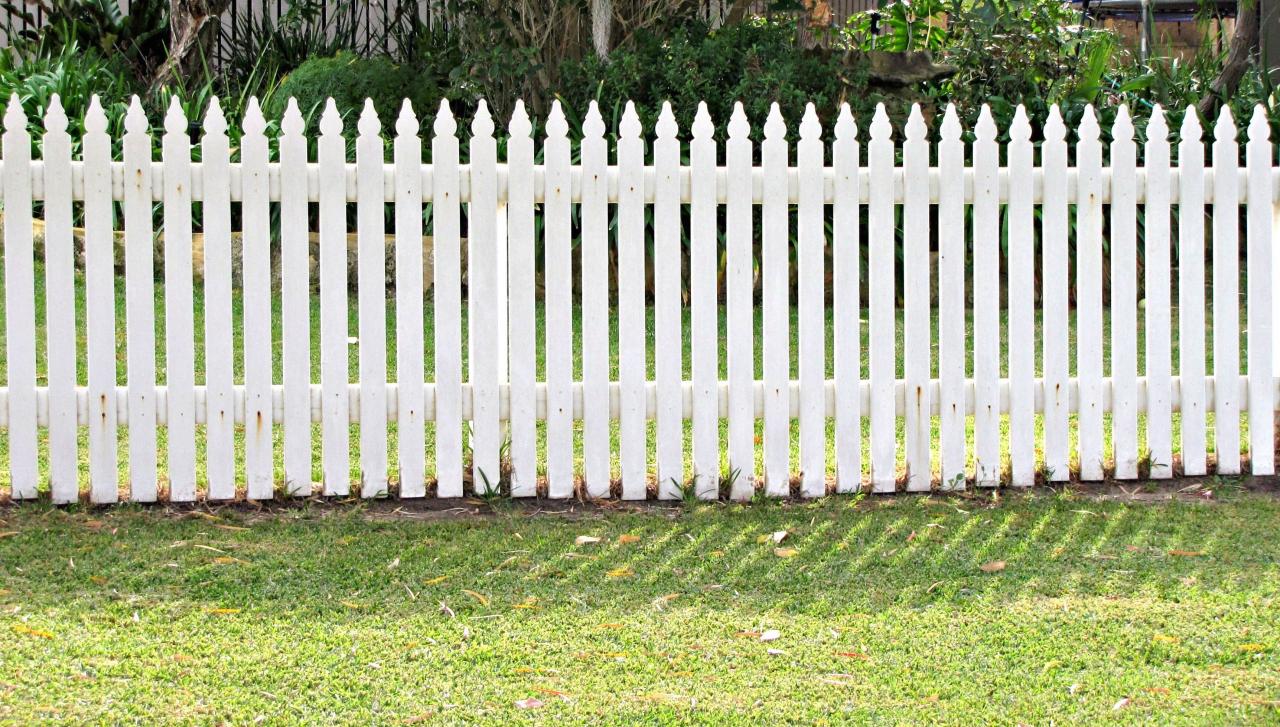
Troubleshooting & Maintenance

Source: boredpanda.com
This section addresses common problems encountered during installation and Artikels routine maintenance tasks to ensure the fence’s longevity.
Common Problems and Solutions
Uneven ground can be addressed through leveling techniques. Damaged pickets can be replaced by removing the damaged picket and installing a new one. Incorrect post placement may require removing and resetting the posts. Careful planning and attention to detail during installation minimize these issues.
Routine Maintenance
Regular cleaning, staining/painting touch-ups, and prompt repair of any damage are crucial for maintaining the fence’s appearance and extending its lifespan. Annual inspections are recommended to identify and address any potential problems early.
Repairing a Damaged Picket or Post
To repair a damaged picket, carefully remove the damaged picket, ensuring no damage to adjacent pickets or rails. Install a new picket using the same technique as the initial installation. Replacing a broken post requires removing the concrete, installing a new post, and refilling with concrete, ensuring proper alignment and stability.
FAQ Guide
What type of tools will I need?
You’ll need post-hole diggers, a level, measuring tape, shovels, a concrete mixer, a saw, a drill, nails or screws, and safety glasses.
How long will the project take?
The time required varies depending on the fence’s length and complexity but expect it to take several days to a week for a typical 50-foot fence.
Can I install the fence myself, or should I hire a professional?
While DIY is possible, hiring a professional ensures a higher quality and quicker installation, especially for larger or more complex projects.
How often should I stain or paint my fence?
Re-staining or painting every 2-3 years is generally recommended to maintain the fence’s appearance and protect it from the elements.
What should I do if a picket becomes damaged?
Carefully remove the damaged picket and replace it with a new one, ensuring proper alignment and secure fastening.
Comments are closed.