Replace A Broken Fence Post
Replace a broken fence post—a seemingly simple task, yet one that requires careful planning and execution for a lasting repair. This guide delves into the process, from assessing the damage and selecting the right replacement post to the final securing and post-installation care. We’ll cover various methods, materials, and crucial safety precautions to ensure a strong, durable, and aesthetically pleasing result. Understanding the intricacies of each step will empower you to tackle this project with confidence and achieve a professional-looking outcome.
Whether your broken fence post is due to age, weather damage, or accidental impact, this comprehensive guide provides a clear roadmap. We’ll explore different types of wood, the importance of proper concrete mixing, and various techniques for securing the fence to the new post. By following these instructions, you can confidently restore the integrity and beauty of your fence.
Replacing a Broken Fence Post
A broken fence post is a common problem, but thankfully, replacing one is a manageable DIY project. This guide provides a step-by-step process for assessing the damage, selecting the right replacement, and securely installing the new post, ensuring your fence remains strong and visually appealing.
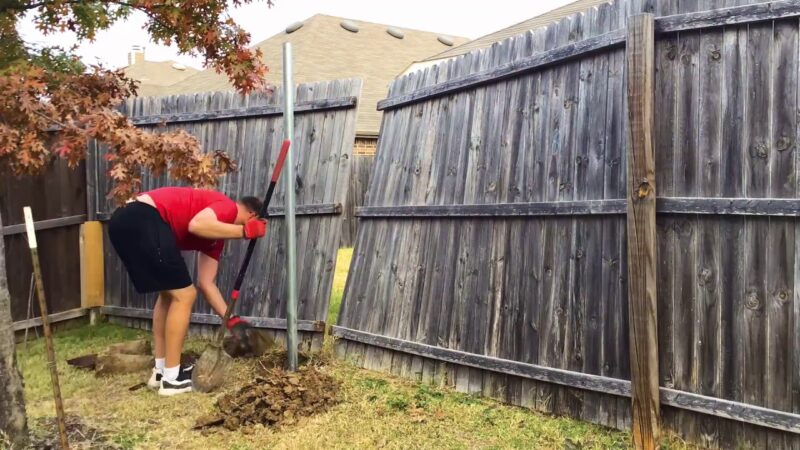
Assessing the Damage

Source: ytimg.com
Before beginning the replacement, a thorough assessment of the damage is crucial. This involves determining the extent of the break, identifying the post’s material, analyzing the soil conditions, and safely removing the broken post.
- Examine the broken post to determine the extent of the damage. Note whether the break is clean or splintered, and how far up the post the damage extends.
- Identify the type of wood or material. Common materials include pressure-treated lumber, cedar, redwood, or composite materials. Knowing the material helps in selecting a suitable replacement.
- Observe the surrounding soil conditions. Is the soil compacted, sandy, clay-like, or rocky? Note any signs of water accumulation or erosion, which might have contributed to the post’s failure. Consider the local climate and its impact on the post’s longevity.
- Safely remove the broken post. Use appropriate tools like a saw, axe, or post-puller, taking precautions to avoid injury. If the post is deeply embedded, you might need to loosen the soil around it before removal.
Choosing a Replacement Post
Source: ytimg.com
Selecting the right replacement post is vital for the longevity and structural integrity of your fence. This section details the factors to consider when choosing a replacement.
- Compare different types of wood. Pressure-treated lumber is a popular choice due to its resistance to rot and insect damage. Cedar and redwood are naturally durable but can be more expensive. Consider the climate and soil conditions when choosing a wood type.
- Specify the ideal dimensions. The replacement post should match the dimensions of the existing posts in length and diameter. Measure the existing posts to ensure an accurate replacement.
- Consider treated versus untreated lumber. Treated lumber offers better resistance to rot and insects, extending its lifespan. Untreated lumber is generally less expensive but requires more frequent maintenance and may have a shorter lifespan.
- Inspect for defects. Choose a post free from cracks, knots, or other defects that could compromise its strength and durability. A sound post ensures a long-lasting repair.
Preparing for Installation, Replace a broken fence post
Proper preparation is key to a successful fence post-installation. This includes gathering necessary tools and materials, planning the hole, and mixing the concrete.
- Gather necessary tools and materials. This includes a shovel, post-hole digger, level, plumb bob, measuring tape, concrete mix, and appropriate fasteners for attaching the fence.
- Plan the hole. Dig a hole deep enough to provide adequate support for the post, typically at least one-third to one-half of the post’s length. The hole should be wide enough to allow for proper concrete placement.
- Mix and prepare concrete. Follow the manufacturer’s instructions for mixing the concrete to the correct consistency. Ensure the concrete is well-mixed to achieve optimal strength.
- Ensure proper hole size and position. The hole should be straight and plumb, ensuring the post is properly aligned and supported.
Installing the New Fence Post

Source: co.uk
This section illustrates the process of setting up the new post and ensuring its stability.
- Set the new post in the prepared hole. Ensure the post is plumb and level using a level and plumb bob. Adjust the position as needed before adding concrete.
- Secure the post with concrete. Pour the concrete into the hole, ensuring it surrounds the post. Tamp the concrete gently to remove air pockets and ensure a solid setting.
- Allow proper curing time. Allow the concrete to cure completely before attaching the fence sections. The curing time varies depending on the type of concrete and weather conditions.
| Method | Advantages | Disadvantages | Suitability |
|---|---|---|---|
| Concrete | Strongest and most durable | Requires more time and effort | Best for high-traffic areas or areas with unstable soil |
| Gravel | Quick and easy | Less durable than concrete | Suitable for less demanding areas or temporary fences |
| Post Mix | Relatively quick and strong | Can be messy | Good all-around option for average situations |
| Compacted Soil | Low cost and minimal materials | Least durable; may not be suitable for all soil types | Suitable only for low-stress areas and stable soil |
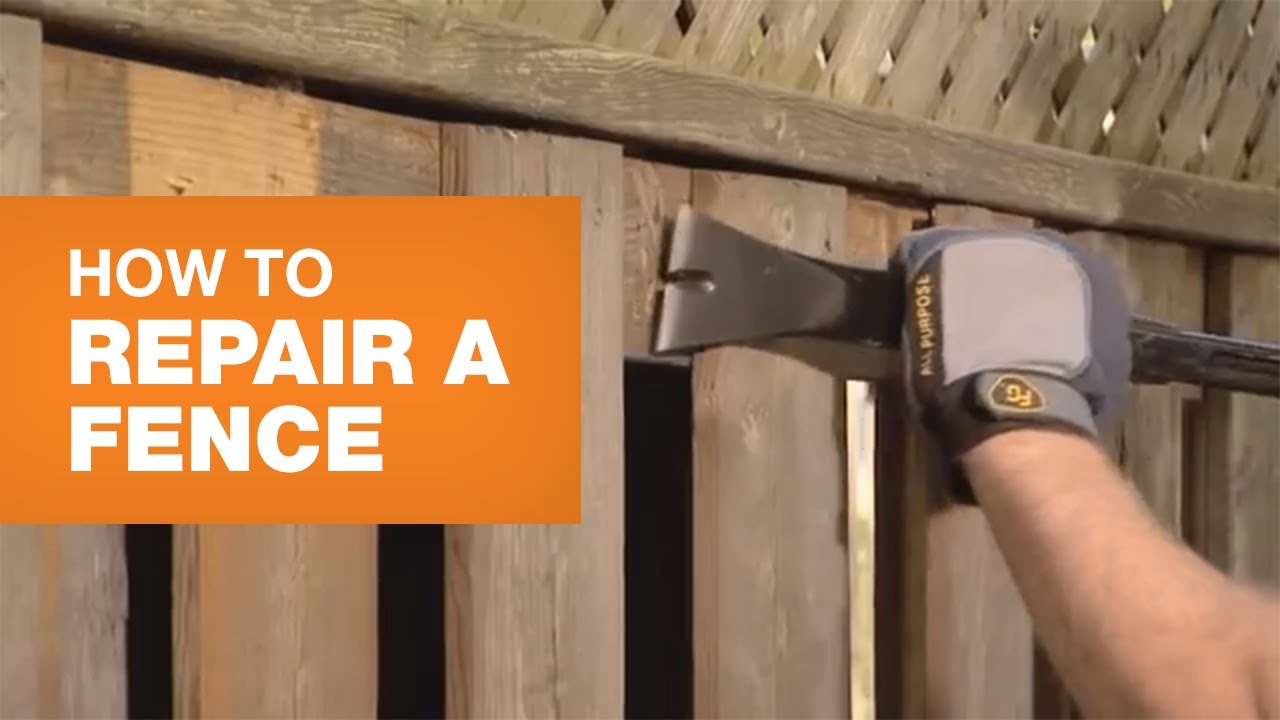
Securing the Fence to the New Post

Source: ytimg.com
Reattaching the fence sections to the new post requires careful consideration of strength and durability.
- Reattach the fence sections. Use appropriate fasteners, such as screws or nails, to securely attach the fence to the new post. Ensure the connection is strong and aligned with the existing fence line.
- Use appropriate fasteners and techniques. Use fasteners that are appropriate for the type of wood and the fence material. Pre-drilling holes can prevent the splitting of the wood.
- Consider different attachment methods. Screws generally offer better-holding power than nails. Brackets can provide additional support, especially in areas with high stress.
- Wear safety glasses to protect your eyes from flying debris.
- Use work gloves to protect your hands.
- Be cautious when using power tools.
- Ensure the area is clear of obstructions before working.
Post-Installation Care
Proper maintenance ensures the longevity of your newly installed fence post.
- Maintain the surrounding area. Keep the area around the post clear of debris and vegetation to prevent moisture buildup and rot.
- Protect from weathering and decay. Apply a sealant or wood preservative to protect the post from the elements and extend its lifespan.
- Conduct regular inspections. Regularly inspect the post and surrounding fence for any signs of damage or deterioration.
- Address any issues promptly. Address any problems promptly to prevent further damage and ensure the long-term stability of the fence.
Illustrative Examples
Visual examples aid in understanding proper installation techniques and potential problems.
- A correctly installed fence post sits plumb and level, surrounded by properly set concrete, with the fence securely attached.
- A poorly installed post might be leaning, have uneven concrete settings, or show loose fence attachments. This could lead to instability and eventual failure.
- Pressure-treated lumber has a consistent texture and color, while cedar and redwood have distinct grains and natural variations in color and texture.
- Proper concrete mixing involves combining cement, sand, and gravel in the correct proportions, and adding water gradually until a workable consistency is achieved. The concrete should be thoroughly mixed to ensure uniform strength.
Essential Questionnaire: Replace A Broken Fence Post
What type of concrete is best for setting a fence post?
A standard, quick-setting concrete mix designed for exterior use is recommended. Ensure it’s suitable for the ground conditions.
How long should I wait before applying pressure to the newly installed post?
Allow the concrete to cure completely, typically 24-72 hours, before attaching any fence sections or applying significant pressure.
Can I use pressure-treated lumber for the replacement post?
Yes, pressure-treated lumber is highly recommended for its resistance to rot and insect damage, extending the lifespan of your fence post.
What if I don’t have access to concrete? Are there alternatives?
Gravel can be used as an alternative, though it provides less stability than concrete, particularly in unstable soil. Consider using gravel in conjunction with a post base for added support.
Comments are closed.