White Fence Installation
White fence installation transforms landscapes, adding curb appeal and privacy. This guide explores the various aspects of constructing a beautiful and durable white fence, from selecting the right materials and planning the project to understanding the installation process, budgeting effectively, and ensuring long-term maintenance. We’ll cover everything from choosing between wood, vinyl, and metal to navigating local regulations and ensuring a safe installation process.
Whether you’re a seasoned DIY enthusiast or a homeowner tackling your first fencing project, this comprehensive resource provides the knowledge and steps needed for a successful installation. We’ll delve into the specifics of each stage, offering clear instructions, helpful tips, and cost considerations to guide you through every step of the way.
Types of White Fences: White Fence Installation
Choosing the right white fence involves considering various materials, each offering unique characteristics in terms of durability, maintenance, and aesthetic appeal. This section will explore the most common types of white fences, comparing their pros and cons to help you make an informed decision.
White Fence Materials
Several materials are commonly used for white fence construction, each possessing distinct properties impacting longevity and upkeep. These include wood, vinyl, and metal.
- Wood: Offers a classic, natural look. Requires regular maintenance, including staining or painting, to protect against rot and insect damage. Durability varies greatly depending on the wood type (e.g., cedar is more durable than pine).
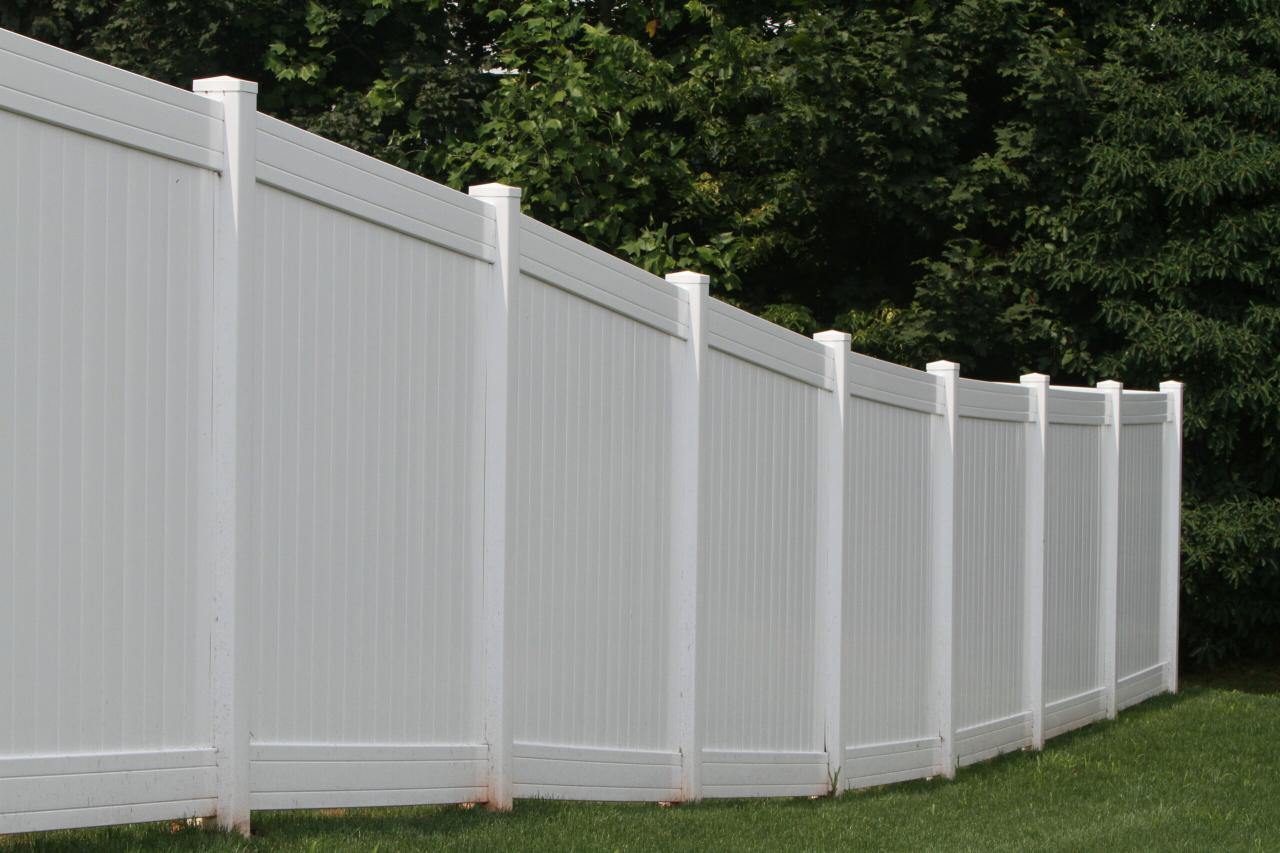
- Vinyl: A low-maintenance option that is resistant to rot, insects, and weathering. It’s durable but can be susceptible to damage from impact. Comes in various styles and colors, easily mimicking the look of wood.
- Metal: Typically aluminum or steel, offering high durability and strength. Requires minimal maintenance but can be more expensive upfront. Can be prone to rusting if not properly treated (especially steel).
White Fence Styles
Beyond the material, the style of your white fence significantly impacts its overall look and feel. Popular options include picket, post and rail, and board-on-board fences.
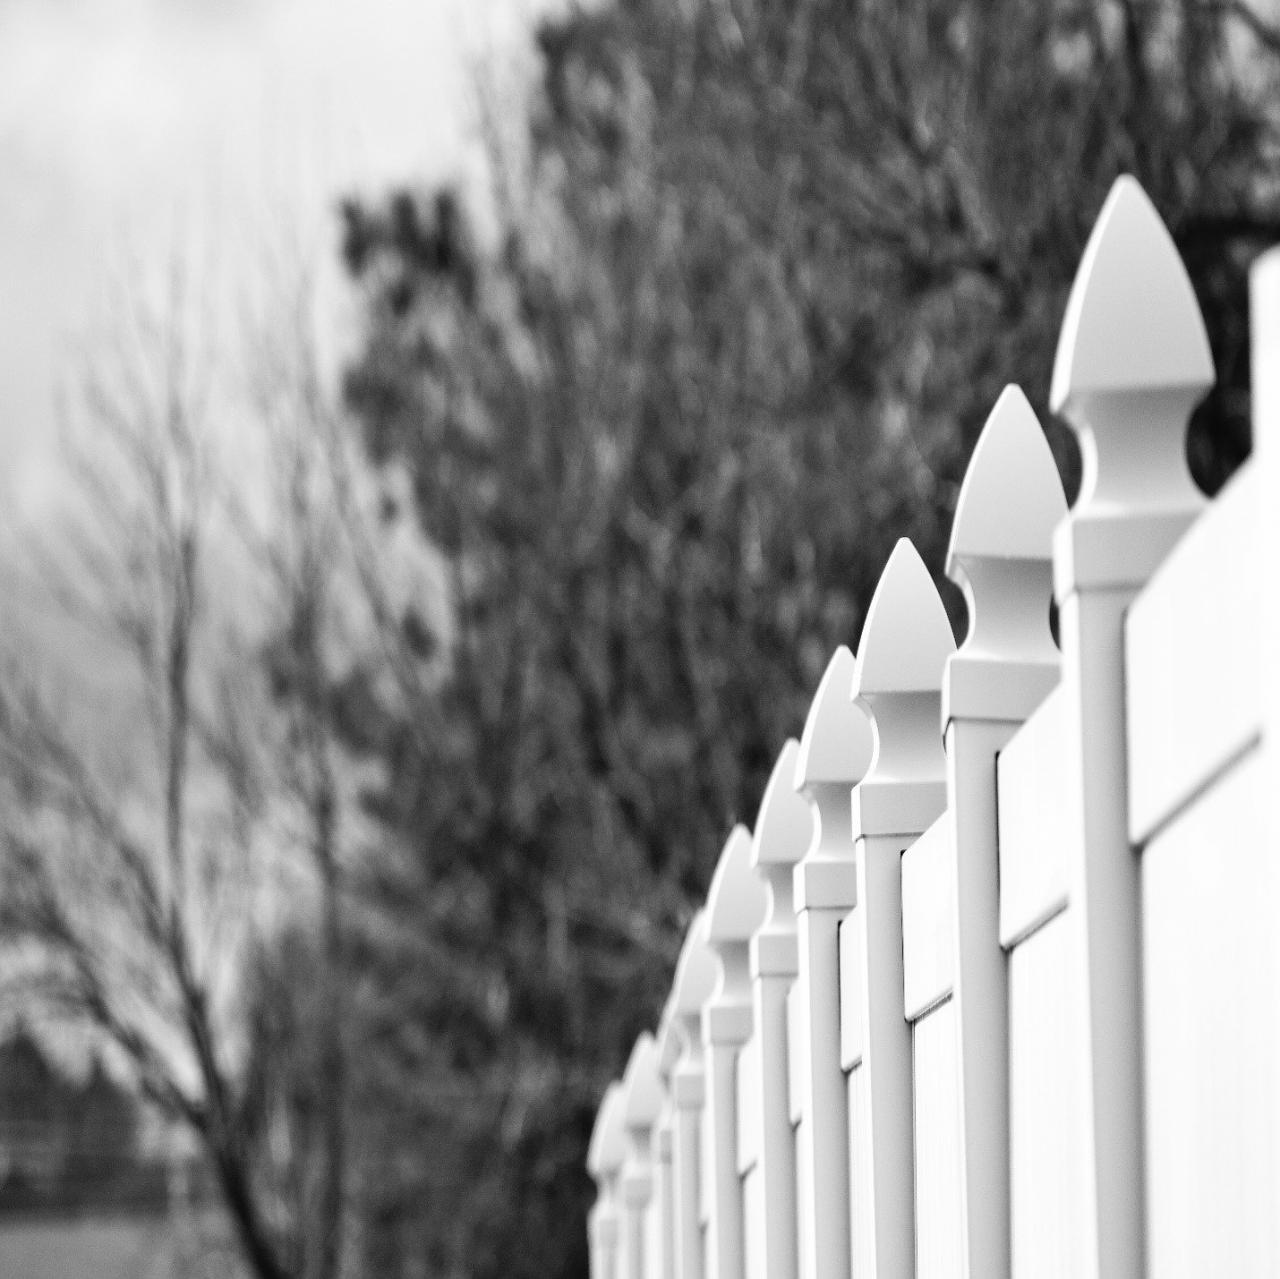
- Picket Fences: Characterized by closely spaced vertical slats, creating a classic, charming aesthetic. Offers varying degrees of privacy depending on the spacing between pickets.
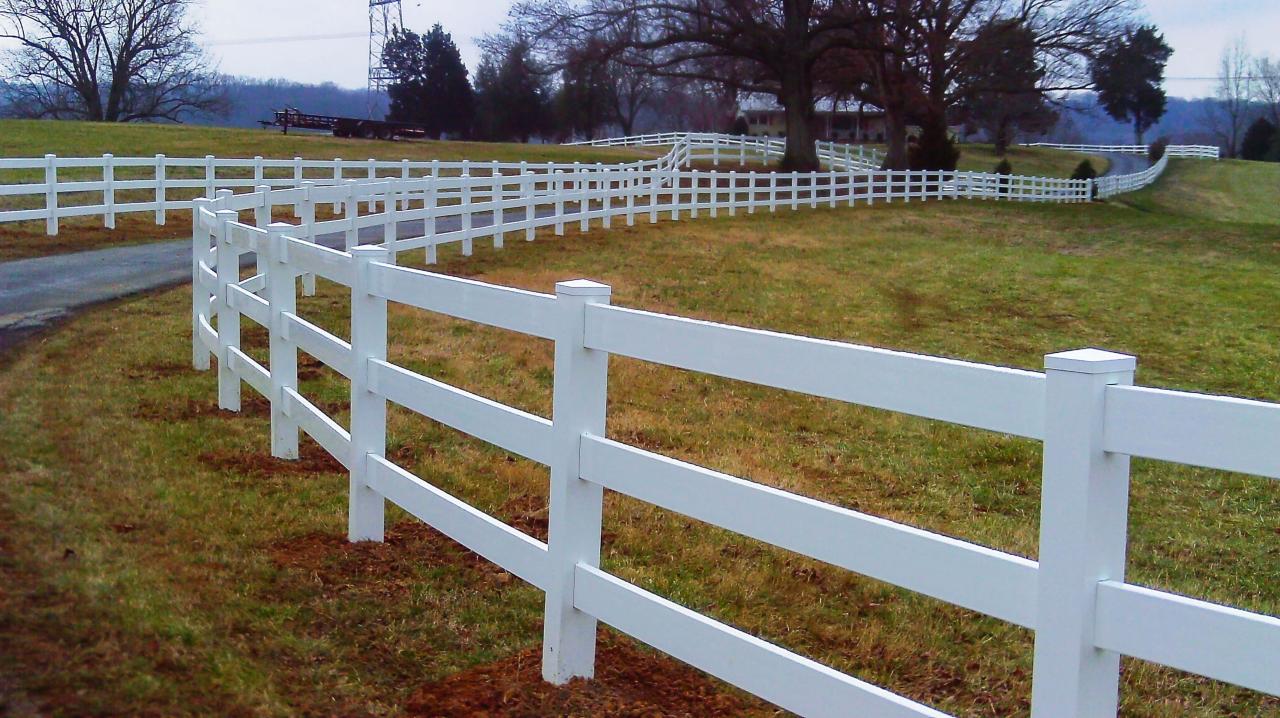
- Post and Rail Fences: A more rustic style featuring horizontal rails supported by sturdy posts. Provides limited privacy but is ideal for defining property lines or creating a more open feel.
- Board-on-Board Fences: Features vertical boards overlapping each other, creating a solid, private barrier. Offers excellent privacy and is highly durable.
White Fence Material Comparison
This table summarizes the key differences between common white fence materials.
| Material | Cost | Lifespan (Years) | Aesthetic Appeal |
|---|---|---|---|
| Wood | Moderate to High | 15-30 (with maintenance) | Classic, Natural |
| Vinyl | High | 20-40 | Clean, Modern, or Classic (depending on style) |
| Metal | High | 30+ | Modern, Sleek |
Fence Installation Process
Installing a white fence is a multi-step process requiring careful planning and execution. Proper preparation and adherence to best practices ensure a long-lasting and aesthetically pleasing result.
Planning and Site Preparation
Before starting, obtain necessary permits, mark property lines precisely, and clear the area of any obstacles. Consider soil conditions and potential underground utilities.
Setting Fence Posts

Source: futurecdn.net
Digging appropriately sized holes, setting posts plumb (perfectly vertical), and using concrete to secure them is crucial for fence stability. Proper post depth is vital for longevity and to withstand weather conditions.
- Dig holes to the required depth and width using a post-hole digger.
- Set posts plumb, ensuring they are level and vertical.
- Backfill holes with concrete, ensuring proper setting time before proceeding.
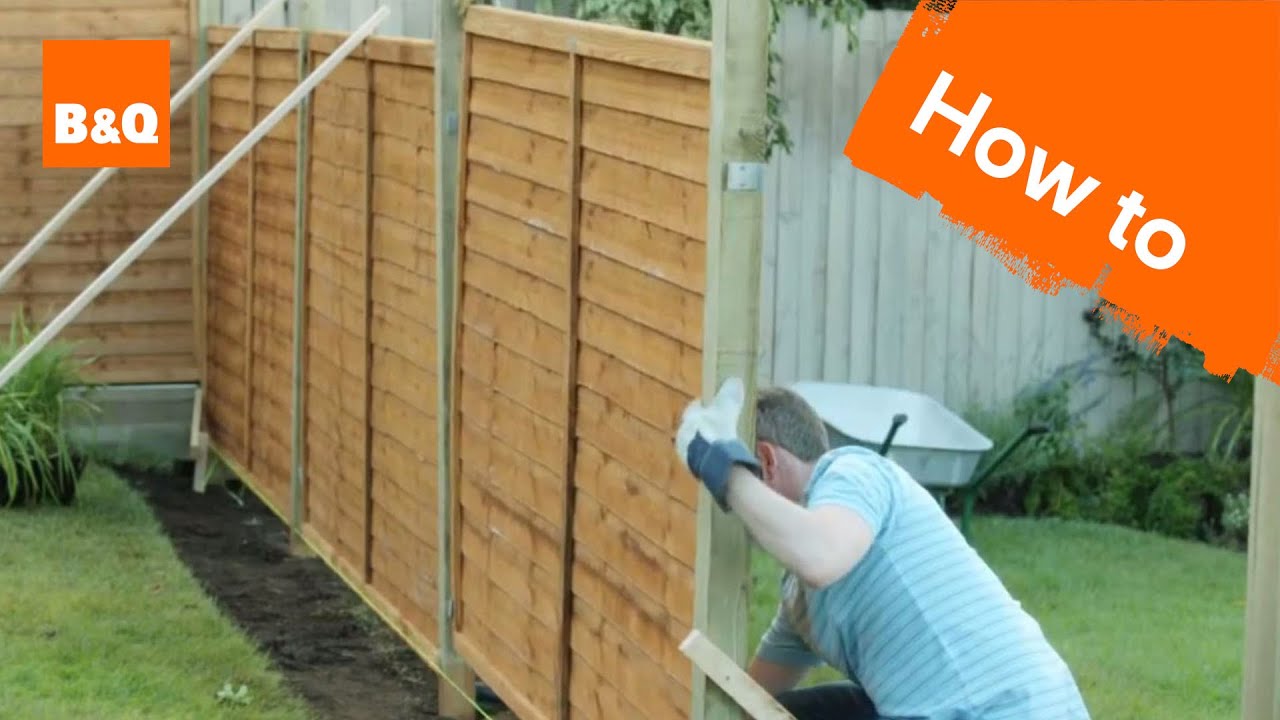
Attaching Fence Rails and Panels
Source: Utah fencing.co
Once the posts are set, attaching rails and panels follows a systematic approach ensuring proper alignment and secure fastening. Using appropriate fasteners and techniques prevents sagging or warping over time.
- Attach rails to posts using galvanized screws or lag bolts.
- Secure fence panels to rails using appropriate fasteners.
- Ensure proper alignment and spacing between panels.
Visual Guide for Securing Fence Components
A visual guide would show a detailed view of attaching a fence panel to a post. It would illustrate the use of appropriate fasteners, such as galvanized screws or lag bolts, driven at an angle to prevent splitting the wood. The image would highlight proper spacing between fasteners, ensuring an even distribution of weight and stress. It would also show the correct placement of the panel about the rails, ensuring a straight and level fence line. Finally, it would demonstrate the use of a level to ensure proper alignment during the installation process. Consistent spacing between the panels and even fastener placement is key to a professional finish.
Tools and Materials Needed
Having the right tools and materials readily available streamlines the fence installation process. This section provides a comprehensive checklist to ensure a smooth and efficient project.
Essential Tools
- Post hole digger
- Shovel
- Level
- Measuring tape
- Drill with appropriate drill bits
- Screwdriver or impact driver
- Saw (for wood fences)
- Safety glasses and gloves
Materials Checklist
- Fence posts (specify quantity based on fence length and spacing)
- Fence rails (specify quantity based on fence design)
- Fence panels or boards (specify quantity based on fence design)
- Concrete mix
- Fasteners (screws, nails, or lag bolts)
- Post caps (optional)
Organized Materials List
Categorize materials for efficient preparation. Separate posts, rails, panels, concrete, and fasteners into distinct groups for easy access during installation.
Cost Estimation and Budgeting
The cost of a white fence installation varies based on several factors. Accurate budgeting requires careful consideration of these variables to avoid unexpected expenses.
Factors Influencing Cost

Source: ytimg.com
- Fence material
- Fence length
- Fence height
- Labor costs (DIY vs. professional installation)
- Permit fees
- Site preparation needs
Cost Breakdown Examples
Source: plasticlumberyard.com
A 100-foot vinyl fence might cost significantly more than a 50-foot wooden fence due to material and labor differences. Similarly, a taller fence requires more materials and labor, increasing the overall cost. Professional installation always adds to the total cost compared to DIY.
Cost Estimates for Various Fence Lengths and Materials
| Fence Length (ft) | Wood Cost (Estimate) | Vinyl Cost (Estimate) | Metal Cost (Estimate) |
|---|---|---|---|
| 50 | $1500 – $3000 | $3000 – $5000 | $4000 – $7000 |
| 100 | $3000 – $6000 | $6000 – $10000 | $8000 – $14000 |
Note: These are rough estimates. Actual costs may vary significantly based on location, material choices, and labor rates.
Maintenance and Repair
Regular maintenance is crucial for prolonging the lifespan of your white fence and preserving its aesthetic appeal. Addressing minor issues promptly prevents larger, more costly repairs later.
Common Issues and Solutions
- Wood rot: Treat with wood preservative or replace damaged sections.
- Loose posts: Tighten or reset posts using additional concrete.
- Damaged panels: Repair or replace damaged panels.
- Fading paint: Repaint or restain as needed.
Cleaning and Repair Procedures
Regular cleaning with soap and water removes dirt and debris. Painting or staining wood fences protects against weathering and extends their lifespan. Repairing damaged sections involves replacing individual components or panels as needed.
Seasonal Maintenance Schedule
Spring: Clean the fence and inspect for damage. Summer: Check for loose components and repair as needed. Fall: Prepare the fence for winter weather. Winter: Clear snow and ice from the fence.
Safety Considerations
Fence installation involves potential hazards. Prioritizing safety measures ensures a safe working environment and prevents injuries.
Potential Hazards, White fence installation
- Digging hazards (underground utilities)
- Falling objects
- Cuts and abrasions from tools and materials
- Overexertion
Safety Best Practices
- Call 811 before digging to locate underground utilities.
- Use appropriate safety equipment (gloves, safety glasses, etc.).
- Lift heavy objects properly to avoid back injuries.
- Take breaks to avoid overexertion.
Safety Checklist
Before starting, review all safety measures and ensure you have the necessary equipment. Regularly check the work area for hazards and address them immediately.
Legal and Regulatory Aspects
Adhering to local regulations and property lines is crucial to avoid legal issues during and after the fence installation. Understanding these aspects prevents potential conflicts and ensures compliance.
Local Regulations and Permits
Check with your local authorities for specific regulations and permit requirements. These may vary depending on location and fence type. Failure to obtain necessary permits can result in fines or legal action.
Property Lines and Easements
Clearly define property boundaries before installation to avoid encroaching on neighboring properties or easements. Consult property surveys or legal professionals if needed.
Obtaining Permits and Approvals
Source: pinimg.com
The process involves submitting applications, providing necessary documentation, and potentially attending hearings or inspections. The timeline for approval varies depending on local regulations.
Potential Legal Issues
Source: ytimg.com
Encroaching on neighboring property, failure to obtain permits, and damage to underground utilities can lead to legal disputes and costly consequences. Proper planning and adherence to regulations mitigate these risks.
Quick FAQs
What is the best time of year to install a white fence?
Spring or fall are generally ideal, avoiding extreme heat or cold that can affect materials and installation efficiency.
How deep should fence posts be buried?
At least one-third of the post’s length should be buried, typically around 2-3 feet, depending on soil conditions and local regulations.
Do I need a permit to install a fence?
Permit requirements vary by location. Check with your local building department before starting the project.
How do I prevent rot in a wooden white fence?
Use pressure-treated lumber, apply a quality wood sealant, and ensure proper drainage around the fence base.
What’s the average lifespan of a white vinyl fence?
Vinyl fences typically last 20-30 years with minimal maintenance.
Comments are closed.